
In this article
- First of all: evacuating isn’t an end in itself
- The four scales of an evacuation
- 1. Define what evacuating means for your household
- 2. Prepare the essential resources
- 3. Build a real communication plan
- 4. Identify several destinations
- 5. Choose several routes
- 6. Plan several ways of getting around
- 7. Test the plan
- 8. Update the plan
- Special needs
- A complete plan answers twelve questions
- A deliberately simple document
- Frequently asked questions
An evacuation bag isn’t an evacuation plan. You can own the best equipment and still find yourself without a solution if you don’t know when to leave, where to go, how to find your family, which route to take or what to do if the vehicle becomes unusable.
An effective evacuation depends less on the amount of gear carried than on decisions made before the emergency: understanding the risks, defining departure criteria, preparing destinations, keeping several ways of getting around, and testing it all in realistic conditions, at every scale — from the home to the region.
The bag gives you resources. The plan gives you direction. Without a destination, communication, a route and a fallback, the evacuation bag is just a bag full of gear.
- Define what evacuating meansReal risks, household constraints, departure criteria.
- Prepare resourcesKits at home, in the vehicle and at work.
- CommunicateMeeting places, contacts, instructions for children.
- Choose destinationsA main one, an alternative, a short-term solution.
- Plan routesAt least two genuinely different routes.
- Plan several meansCar, a relative, public transit, bicycle, walking.
- TestTimed departure, real route, loss of the vehicle.
- UpdateEvery year and with every change in circumstances.
First of all: evacuating isn’t an end in itself
Evacuation is sometimes presented as a universal reflex: things get worse, you grab the bag and go. Reality is more nuanced. Depending on the disaster, it may be safer to stay home temporarily, shelter in place, leave only the building, leave the neighbourhood, go to another municipality or leave an entire region. The first element of a plan is therefore understanding the difference between sheltering and evacuating.
The right decision isn’t “always leave” or “always stay”. It is the option that really reduces exposure to danger in the scenario at hand. And when the authorities order an evacuation, you leave.
The four scales of an evacuation
An evacuation can happen at four different scales, and each is planned separately. A plan that only starts at the city limits ignores the most common obstacles: a stuck window, a smoky stairwell, a flooded street.
| Scale | Typical scenarios | Preparedness priority |
|---|---|---|
| Home | Fire, gas leak, structural damage | Two exits per room, meeting point, night drill |
| Work or school | Fire alarm, incident in the building | Know the exits, plan to leave on foot |
| Neighbourhood | Downed lines, flooded street, industrial incident | Walking route, multiple meeting points |
| City or region | Flood, forest fire, evacuation order | Destinations, routes, fuel, communication |
Scale 1: the home
Getting out of your home quickly is the most basic plan, and the one most households have never practised.
- Check that every window opens from the inside. A painted or swollen window can block an exit at the worst moment.
- Locks that open from the inside without a key on exit doors: looking for a key in the dark and smoke is a variable to eliminate.
- A folding escape ladder in upstairs bedrooms, and occupants who know how to use it.
- Working smoke and carbon monoxide alarms on every floor.
- A clear outdoor meeting point, far enough from the building not to hamper firefighters.
- An arrangement with your immediate neighbours: in a night-time evacuation, everyone knows where to go.
Recommended practice: a timed night-time evacuation drill almost always reveals obstacles that planning in calm conditions missed. With children, presented as a game, it builds reflexes without creating anxiety.
Scale 2: the workplace and school
You are in an environment you don’t control, shared with many people. Crowding in an emergency stairwell is a documented reality of evacuations.
- Locate the emergency exits of every building you use regularly and check that they are clear; report any blocked exit to the building’s safety officer.
- Expect the parking area to be inaccessible or dangerous: an underground garage isn’t a place to linger.
- Know the building’s meeting point and follow the floor wardens’ instructions.
- For children, know the school’s emergency plan and who is authorized to pick them up.
Scale 3: the neighbourhood
The home is still accessible, but the immediate area is disrupted: power lines down after a storm, a flooded street, an incident on a main artery. At this scale, walking is often more effective than driving.
- Prepare a walking route through streets, parks and public passages, without crossing private property.
- Walk the routes in daylight, then imagine how they change at night, in deep snow or with debris on the ground.
- Identify spots to avoid after a storm: downed lines (at least 10 m, or 33 ft, away), weakened trees, submerged culverts.
- Plan several meeting points that are easy to identify (a public building, a specific intersection) and reachable from several directions.
Scale 4: the city and the region
Leaving an urban area during a crisis is the most complex scale. Main roads saturate quickly, whether in an ordered evacuation or a spontaneous exodus.
With warning (forecast flood, advancing fire): leave early once your criteria are met, rather than at the last minute; have a precise destination, not just a direction; bring bedding, because accommodation along evacuation corridors fills quickly; keep a paper map as well as GPS.
Without warning (sudden event): get away from the danger first, optimize the route afterwards; avoid indoor parking structures; use whatever means the state of the roads allows; reach a meeting point outside the city agreed on in advance.
1. Define what evacuating means for your household
A family in downtown Montreal, a couple in a rural area, an older person living alone and a family with young children don’t have the same constraints or options. Start with your reality.
What risks really exist around you?
Flood, fire, forest fire, winter storm, prolonged outage, hazardous materials spill, industrial accident, earthquake, or any other local risk. The Government of Canada recommends building the plan around the risks likely to affect your region; your municipality’s civil security plan is a good source.
Questions to ask
- What would make us leave home? What would make us stay?
- Which household member would be hardest to move?
- Do we have children to pick up, pets, medications or medical equipment?
- Does anyone depend on a mobility aid?
- How long does it really take us to leave?
Define departure criteria
A departure criterion can be an evacuation notice, rising water reaching a set threshold, the closure of an important access route, the known progress of a fire, the loss of a service essential to a vulnerable person, or a deterioration fast enough to threaten your ability to leave later.
A plan without a trigger stays theoretical until the moment all the simple options have disappeared.
2. Prepare the essential resources
The evacuation bag is still relevant. Quebec’s recommendations call for a home kit covering essential needs for at least three days, and a portable kit for leaving quickly.
But equipment you can’t reach during the emergency is useless. If the bag is at home and the crisis happens while you are at work, the plan must still work. There is no need to build several identical bags; a more logical distribution:
- Home: main kit and larger reserves.
- Vehicle: enough to handle a breakdown, a wait or walking home.
- Work: a small get-home kit or essentials depending on the distance.
Rather than caches buried far from home, favour accessible equipment, a small reserve with someone you trust, clothes and shoes at work, a car kit, secure copies of documents, and resources already at your destination.
3. Build a real communication plan
A disaster can strike when the adults are at work, the children at school, a household member is travelling, and telecommunications are congested. The Government of Canada recommends in particular:
- a meeting place near home and another outside the neighbourhood;
- a person authorized to pick up the children;
- a local contact and a contact outside the region;
- medical information and essential contact details.
Don’t build everything around the phone. Use it when it works (texts get through better than calls on a saturated network), but also plan written contact details, a known meeting place, an out-of-area person, instructions for the children and a power bank.
The plan must let everyone know what to do even if they can’t reach each other.
4. Identify several destinations
A cottage or property at a distance can be an excellent destination, but it isn’t necessary for a good plan. A destination can be much simpler: relatives or friends, a hotel, another municipality, a second home, or a shelter opened by the authorities.
An abandoned building isn’t a plan: structural hazards, contaminants, no water or heat, unknown occupants, property issues. An imperfect but known, authorized and accessible destination is worth far more.
| Criterion | Question to ask |
|---|---|
| Safety | Is the place outside the risk zone? |
| Accessibility | Can it be reached by several routes? |
| Accommodation | Can you really sleep there for several days? |
| Water | Is there a reliable source or reserve? |
| Services | Are medications, food and support accessible? |
| Pets | Are they accepted? |
| Season | Is the place usable in winter? |
Plan a main destination, an alternative in another direction, and a short-term solution (hotel, relative) that simply gets you out of the zone.
5. Choose several routes
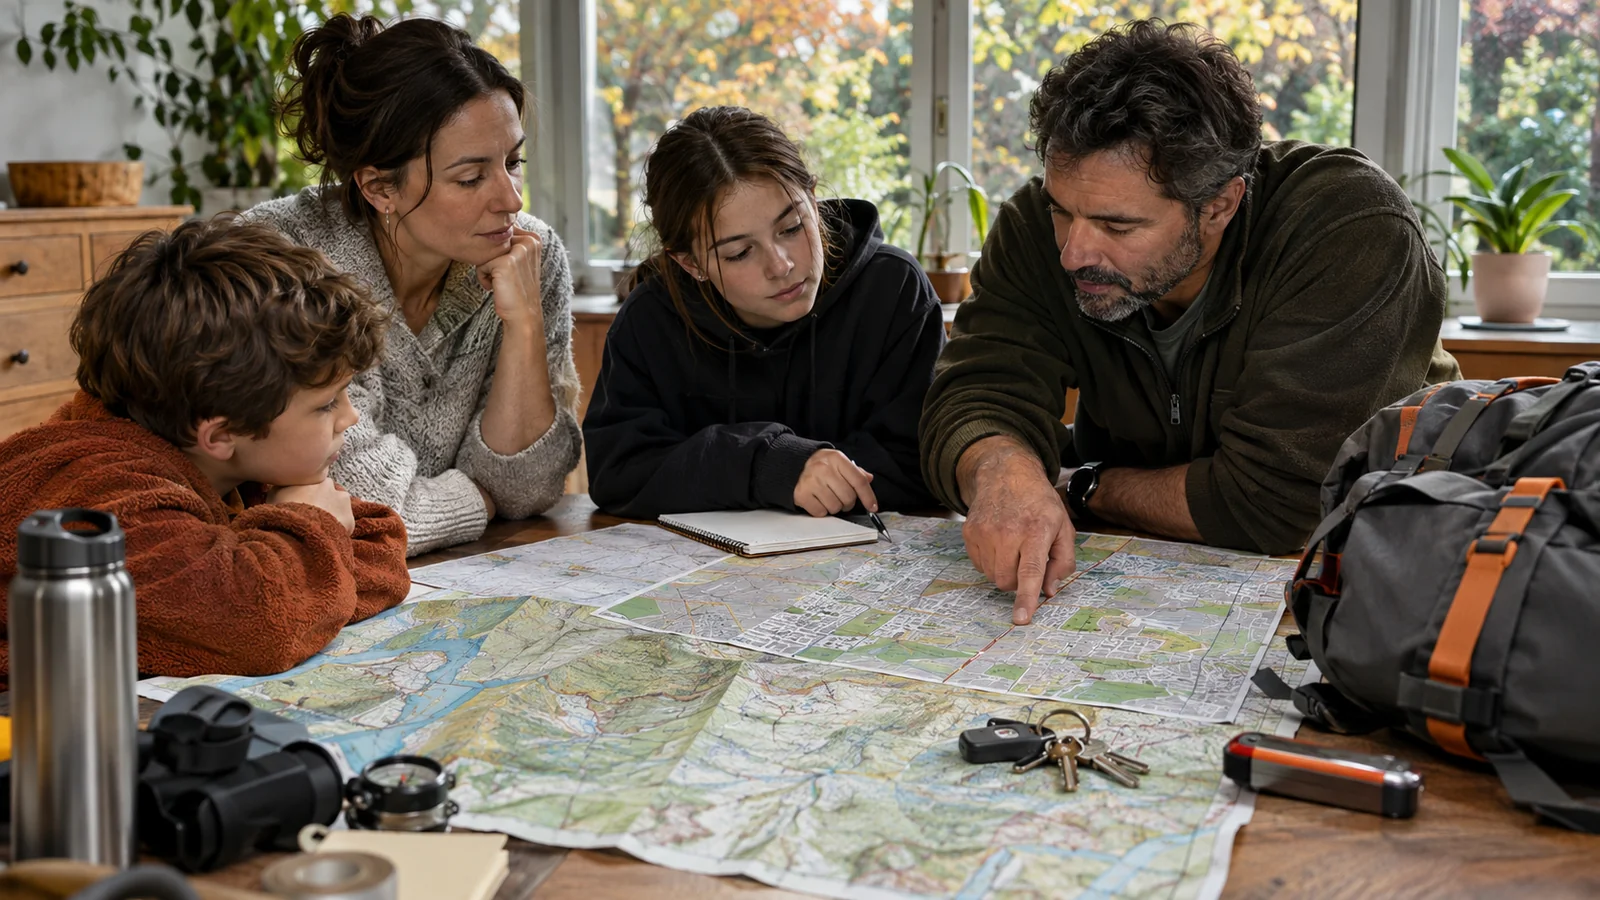
The Government of Quebec recommends a route for leaving the neighbourhood and a second route in case some roads are closed. Make sure the two are genuinely different: two routes over the same bridge, through the same tunnel or the same flood zone are really just one.
For each route, note bridges, tunnels, flood zones, hills, seasonal roads, areas exposed to fire, construction, gas stations, congestion points and places where you can change course. Secondary roads look slower on the map, but often flow better during a mass departure.
GPS with real-time traffic is very useful when it works. Also keep offline maps, a paper map of the region and important addresses in writing. Just before leaving, check Québec 511 for closures, obstructions and road conditions.
A route prepared six months earlier remains an assumption until its condition is checked on the day you leave.
6. Plan several ways of getting around
The “best evacuation vehicle” depends on the scenario. A family car suits a preventive evacuation with children, pets and luggage. A bicycle is valuable when local streets are congested. A boat may serve a property reachable by water. Walking remains the fallback when everything else fails.
For most real evacuations, what counts is reliability, maintenance, range, number of seats, cargo capacity and suitability for the season. Quebec recommends keeping enough fuel to reach your destination and maintaining the vehicle; a car kit includes a light, batteries, jumper cables, first aid supplies, washer fluid, visibility devices and winter equipment.
The backup vehicle doesn’t have to be a second car: car → a relative’s vehicle → public transit → bicycle → walking. People without a car should arrange in advance to leave with a relative or neighbour.
7. Test the plan
A drill reveals that the bag is too heavy, a medication is missing, the children don’t know the meeting point, the cat refuses its carrier, everything doesn’t fit in the car, or the trip takes far longer than expected.
- Drill 1, actually leave: time the interval between “we have to evacuate” and the vehicle ready to pull out of the driveway, with people, pets, medications, bags, seasonal clothing and documents.
- Drill 2, test the route: drive to the destination, then do it again simulating a closure of the main road.
- Drill 3, simulate losing the vehicle: walk a few kilometres with what you plan to carry. You will quickly see whether the weight, shoes and amount of water are realistic.
8. Update the plan
Children grow up, a pet arrives, a medication changes, a job changes, a road closes, the main destination is no longer available. Canada recommends a plan that is easy to find, shared and kept up to date; Quebec recommends checking the kit every year.
In Quebec, a seasonal review is especially useful: the same plan can work in July and poorly in January. In winter, reassess clothing, boots, blankets, road conditions, seasonal roads, vehicle range, travel time and whether continuing on foot is really possible.
Special needs
Health: a standard bag doesn’t cover insulin, oxygen, mobility devices, electrical medical equipment or severe allergies. Build a support network and discuss with your health professional the possibility of a reserve of medications and supplies for about two weeks.
Children: depending on their age, they should know the meeting place, who can pick them up, a contact’s name, where the kit is, and what to do if their parents can’t be reached. Keep contact details at school up to date.
Documents: keep copies of birth certificates, passports, wills, insurance policies, medical information, the emergency plan and essential contact details easily accessible.
A complete plan answers twelve questions
- Why would we leave?
- What event triggers departure?
- Who needs to be picked up?
- How do we communicate?
- Where do we meet?
- What is our main destination?
- What is our alternative destination?
- Which route do we take?
- Which route if the first is cut?
- How do we travel without a vehicle?
- What do we really take?
- How long do we need to leave?
If your household can answer these twelve questions clearly, you have much more than an evacuation bag: you have a plan. The bag is only one link in the chain: risk, decision, communication, regrouping, equipment, transport, route, destination, continuity. Size it according to the duration, distance, season, means of transport and what awaits you at the destination.
A deliberately simple document
In a real emergency, a useful plan can be understood quickly. A family document of a few pages is enough: contacts, meeting places, responsibilities, destinations, routes, medical needs, pets, a departure checklist and trigger criteria. The sophistication belongs in the thinking done before the emergency; the document used during the emergency must stay simple.
Frequently asked questions
What is the difference between an evacuation bag and an evacuation plan?
The bag provides portable equipment. The plan determines when to leave, how to communicate, where to meet, which destination to reach, which routes to take and what to do if the main means of transport fails.
How many routes should you plan?
At least a main route and a second route, as the Government of Quebec recommends. Further options are useful if they really use different corridors.
Do you need a second home as a fallback?
No. A relative, a hotel, another municipality or a shelter can work. What matters is knowing where to go and checking that the place meets your household’s needs.
Do you need several evacuation bags?
Not necessarily identical bags. It is better to spread different capabilities between home, vehicle and work, so you don’t depend on a single piece of equipment that is out of reach when the emergency hits.
How often should you test the plan?
One drill a year is a good baseline, plus a review at every major change (moving, a birth, a new job, a new pet) and a check before winter.