
In this article
Your evacuation bag is one of the most important pieces of your citizen preparedness: it is what you will carry if you have to leave home urgently during a flood, a wildfire, a hazardous materials leak or any other disaster. But you need to know what it can actually do. A common mistake is to pack it carefully, lift it in the living room… and never really carry it. Imagine discovering, on the day you need it, that the straps dig into your shoulders, the rain soaks through everything, or you cannot find your light in the dark.
Testing your bag turns a theoretical list into a reliable tool, and gives you confidence that reduces stress in a real situation. There is no need for a long expedition in extreme terrain: a well-planned, gradual and safe test reveals what matters. This guide explains how to organize the test, what to watch for, and how to adjust your bag afterward.
In brief
In brief. Test your bag in three stages: a few hours close to home, a day hike, then a night of camping. Plan your route, tell at least two people, stay on safe trails, and match the outing to the forecast and your fitness. Note comfort, access to gear, waterproofing, and what is missing or unused, then adjust. The goal is to learn, not to put yourself in danger.
Why you need to really test your bag
Weighing your bag at home tells you almost nothing about how it will feel after three hours of walking. Weight makes itself felt gradually: on the shoulders, hips, knees and feet. A poorly adjusted or overloaded bag can turn an evacuation on foot into an ordeal, or even cause injuries. Testing also reveals problems that cannot be seen on a list:
- items you cannot find quickly because they are poorly packed;
- dry bags that are not really waterproof;
- dead batteries, an empty lighter, a water filter you do not know how to use;
- clothing unsuited to the evening chill or rain;
- duplicate or useless gear that adds unnecessary weight.
As Murphy's law says, anything that can go wrong will go wrong. It is far better to find out during practice than during a real emergency. To think first about the bag itself, see our guide to choosing your evacuation bag.
Testing in three stages
The best approach is gradual. Each stage teaches you something and prepares the next one.
| Stage | Duration and place | Goal | What you learn |
|---|---|---|---|
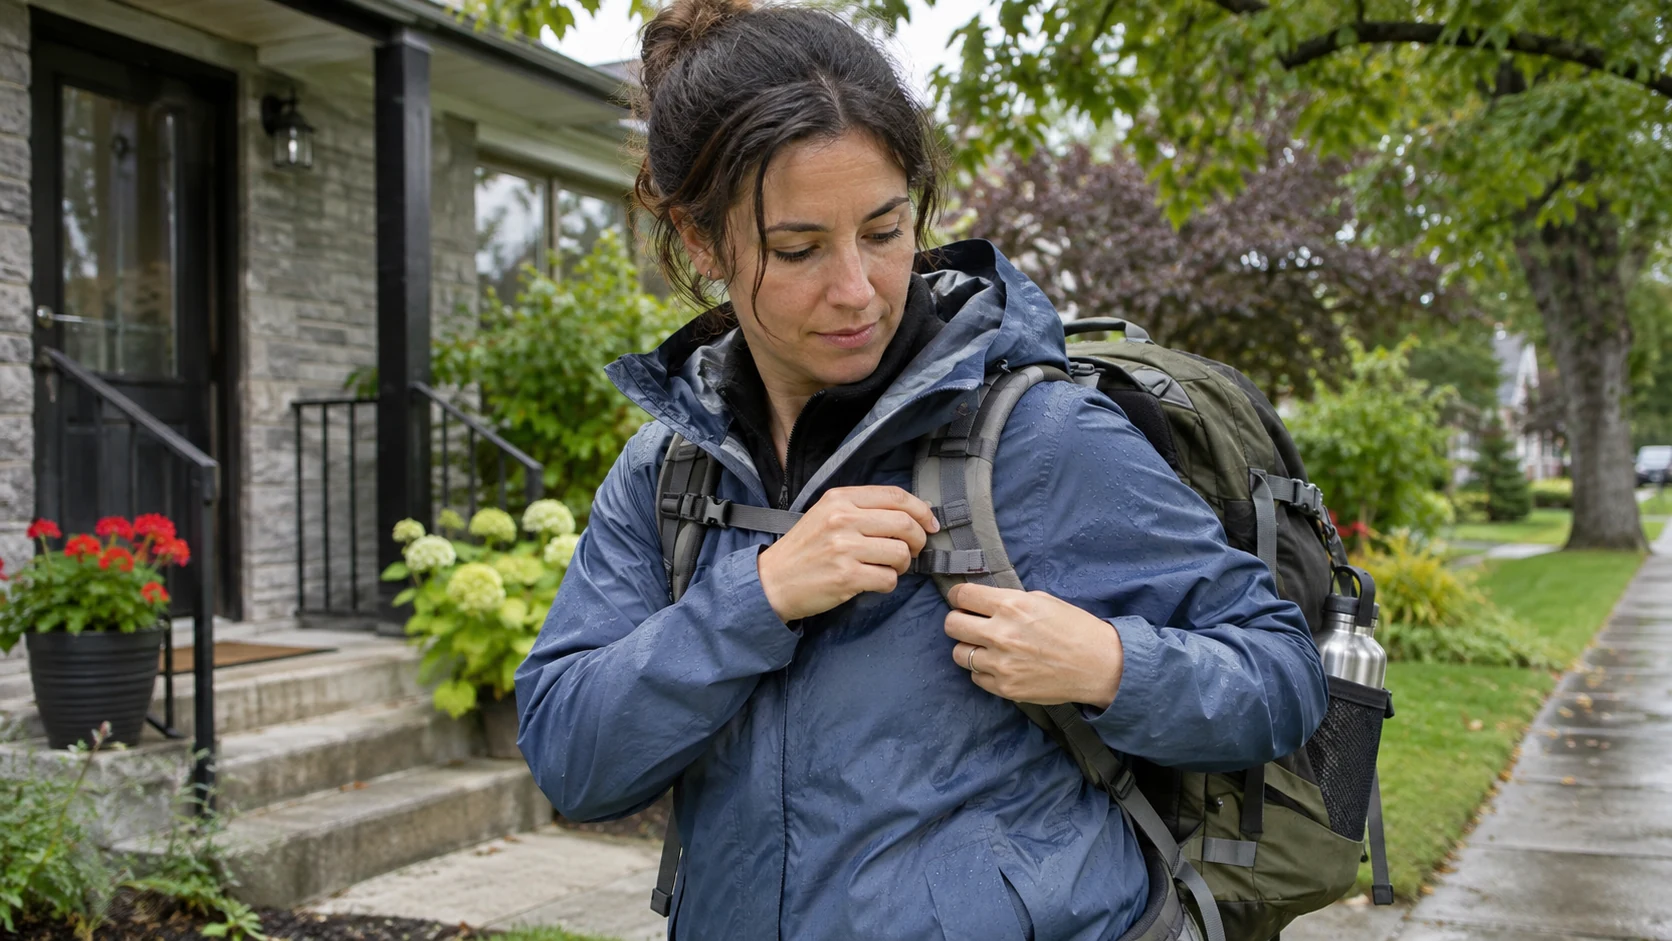
| 1. Urban trial | 2 to 3 hours, neighborhood, park, likely evacuation route | Check fit, weight and comfort | Friction points, blisters, shoulder strap and hip belt adjustments |
| 2. Day hike | 5 to 8 hours on a familiar marked trail | Test endurance, hydration and access to gear | Real water use, food needs, pocket organization |
| 3. Overnight camping | 24 hours at a campground or authorized site | Test shelter, sleep system, cooking and lighting | Warmth at night, waterproofing, power autonomy, forgotten items |
The first stage can follow the route you would actually take to evacuate, for example to your meeting point or a relative's home. It is also a chance to check how long it really takes.
Planning the outing
Never head out without a plan, especially alone. Testing a bag is not worth taking unnecessary risks.
- Route: choose a known, marked trail suited to your level, with at least one alternative route and possible exit points. Park network maps (national, provincial and state parks, long-distance trails) show difficulty and duration.
- Trip plan shared: tell at least two people where you are going, by which route and when you expect to return, with a deadline after which they should alert emergency services.
- Navigation: bring a topographic map and compass and know how to use them; see our navigation basics. A GPS or an app with offline maps is an excellent complement, as long as you carry a backup battery. In areas with no coverage, a personal locator beacon or satellite messenger can save a life.
- Regulations: check the rules of the park or site (fires, camping, access), fire bans during dry periods and hunting seasons, when wearing bright colors is wise.
Choosing demanding but safe terrain
Some older advice recommended choosing the hardest terrain possible, with cliffs and river crossings. That is a bad idea: falls and drownings are among the main causes of serious hiking accidents. A good test can be demanding without being dangerous:
- climbs and descents on trail, which reveal how the bag behaves when the weight shifts;
- dense forest or root-covered sections, which test stability and freedom of movement;
- stairs, footbridges or muddy trails, which mimic the obstacles of a real evacuation.
Avoid cliffs, exposed ridges, fording streams and ice unless you have the necessary training and supervision. If a section looks dangerous, turn back or take your alternative route: that is precisely one of the skills the test should strengthen.
Testing in bad weather, without being reckless
You will not choose the weather on the day of a real evacuation, so it is useful to test your bag in rain, cold or damp conditions to find out which waterproofing method really works. But there is a big difference between moderate rain and a storm. Do not head out during a thunderstorm, a blizzard, extreme heat or an official weather warning. Start with an outing in light rain, close to shelter, then gradually raise the challenge.
- Dress in layers suited to the forecast, with a warm layer and a waterproof layer in reserve.
- Watch what stays dry: dry bags, rain cover, an inner liner for the pack (a sturdy garbage bag works well).
- Note what dries poorly and what gets heavy once wet.
- In cold weather, reread our advice on cold-weather survival before you go.
Practice does not make perfect; it makes you confident. Someone who has already walked a few hours in the rain with their bag knows what to expect and makes better decisions.
What to note during the test
Bring a notebook or use your phone to record observations throughout the day. Ask yourself these questions:
| Question | Signs of a problem | Possible adjustments |
|---|---|---|
| Is the bag comfortable after one hour, then three? | Shoulder or lower back pain, numbness | Adjust the hip belt to carry weight on the hips, lighten the load, change bags |
| Is your back well supported? | The bag sways or pulls backward | Pack heavy items close to your back, in the middle; tighten compression straps |
| Are adjustments easy while walking? | Straps hard to reach | Practice, add pull tabs |
| Can you reach essentials quickly? | You empty the bag to find the light or first aid kit | Dedicated pockets, colored pouches, a packing list |
| Can you get over obstacles and stairs? | Loss of balance, bag snagging | Reduce volume, remove things hanging outside |
| Does the gear work? | Clogged filter, temperamental stove, dead batteries | Replace, learn, build in redundancy |
For the night, check that you have what you need to insulate yourself from the ground, moisture and cold. The test is not only about the bag but about everything in it: never assume a piece of gear works just because someone told you it does.
Listening to your body
The goal is to test your bag and your ability to carry it, not to prove something. If you are not very active, do not start with 20 kilometers and 25 kg on your back: begin with short distances and a lighter bag, then build up gradually. Many outdoor specialists recommend keeping a loaded pack under about 20% of your body weight, and lighter still for children, older adults or people with back problems. Our guide on reducing evacuation bag weight helps you get there.
- Hydration: drink regularly, in hot and cold weather alike. Needs vary widely with effort, heat and the individual; as a rough guide, plan on about half a liter to a liter per hour of moderate effort, more in strong heat, plus a way to purify water found along the way.
- Pace: keep a steady, moderate pace. You will cover more ground in the first half hour than at the end of the day, when fatigue sets in: set your distance in advance rather than relying on elapsed time. Slow and steady goes far.
- Feet: wear broken-in footwear and suitable socks, and treat any hot spot at the first sign, before it becomes a blister.
- Warm-up and recovery: a few minutes of warm-up and gentle stretching after walking help limit soreness.
- Warning signs: chest pain, dizziness, confusion, uncontrollable shivering or severe cramps mean you should stop and, if needed, call for help.
Safety must always come first.
After the test: adjusting
Back home, empty the bag completely and sort its contents into three piles: what you used, what you did not use but remains essential in an emergency (first aid kit, emergency blanket), and what you did not use and can be removed or replaced with something lighter. Note what you were missing. Recharge batteries, replace consumables and dry everything before storing it.
Every time you buy new gear, whether a bag, a stove or a simple two-way radio, test it. Repeat a trial at least once a year, and whenever the season, your household or your fitness changes. To test your family plan as a whole, see our exercise for testing your emergency plan, and for a family test, our article on a family backpacking trip.
Frequently asked questions
Do you need a long expedition to test your bag?
No. A few hours of walking with the full bag already reveals the essentials. A day hike and then a night of camping complete the test gradually and safely.
How much should an evacuation bag weigh?
There is no single number, but many specialists recommend staying under about 20% of your body weight, and less for more vulnerable people. The best weight is one you can carry for several hours without pain.
Can I test my bag alone?
Yes, on a known, safe route, as long as you have shared your plan with at least two people and have a way to communicate. A first outing with company is still preferable.