
In this article
Scenarios are an excellent way to test your preparedness without taking any risk. You put yourself in the person’s shoes, look at what they have on them, think about what you would do, then draw practical lessons for your own outings. This one takes place on a simple day hike, one of the activities where serious accidents most often happen far from any help.
In brief
In brief. Alone, injured and without a phone at the edge of a ravine: the priorities are to stay calm, avoid making things worse, cover the wound and control the bleeding, immobilize the leg as it is, protect yourself from the cold, then signal your presence. But the real problem began before the accident: no one knew where he was, and nothing let him call for help without a phone. A route left with a loved one and a small, well-stocked day pack change everything.
The situation
Your weekend has finally arrived. No more 60-hour weeks fuelled by coffee and adrenaline. You need to get out of the office and out of the city. Time to take a few days off! There is that hiking trail about two hours’ drive away: solitude, ravines, waterfalls, wildlife. You load the car and are on your way in no time.
You reach the trailhead and are pleased to see no other vehicles. Not really surprising on a Wednesday morning. Perfect: it will be just you and nature. The first hour of hiking is exactly what you needed: panoramic views, streams, waterfalls. Beautiful.
You have not posted anything on social media, but a photo at the edge of this ravine would take care of that. You set down your pack, take out your phone and look for the best spot. There is one, perfect, if a little precarious. As you set up, you notice the ground is slippery and the gravel rolls under your feet. You decide to turn back. As you pivot, your feet go out from under you. You fall, roll, and tip over the edge.
You land on a ledge about 3 m (10 ft) below. The pain is intense. Looking at your right leg, you see the shinbone sticking out through the skin. Your phone is gone. You eventually spot it on a small rock shelf about 1.2 m (4 ft) away. The bottom of the ravine is still far below. You take a deep breath, calm yourself, then assess the situation.
What you have on you
Your pack stayed up top. You still have:
- your lace-up hiking boots;
- shorts, a shirt, underwear, socks and a belt;
- a multi-tool knife;
- a lighter;
- a scarf.
Around you are a few sticks and some rocks. It is not much, but it is something.
The mistakes made before the accident
Before deciding what to do, it is worth recognizing that several decisions made this situation much more serious than it needed to be.
| Decision | Consequence | What should have been done |
|---|---|---|
| Leaving alone without telling anyone | No one will look for you for a long time | Leave a route and a return time with a loved one |
| Choosing a day with no one around | No hiker will pass near you | Favour busier trails when solo, or go with a partner |
| Leaving the pack up top | Water, warm clothes and first aid kit out of reach | Keep your pack on near an edge |
| Approaching an unstable edge | The fall itself | Stay on the trail, well back from edges |
| A single way to call for help, held in your hand | The phone falls with you | Whistle around your neck, beacon or satellite messenger attached to your pack or body |
What to decide, now
1. Don’t make things worse
The first priority is not to fall any further. Check how stable the ledge is before moving. Wedge yourself against the rock face, as far from the drop as possible. Panic is the enemy: breathe slowly, talk to yourself out loud if that helps. Every movement must be deliberate.
2. Cover the wound and control the bleeding
An open fracture bleeds and gets infected easily. Do not try to push the bone back in. Cover the wound with the cleanest fabric available: the scarf or a piece of shirt cut with the knife. If the wound bleeds heavily, press firmly around the bone, never directly on it. Heavy bleeding that will not stop is life-threatening; an improvised tourniquet should only be considered as a last resort, if the bleeding endangers your life, using a wide band (belt or shirt) placed above the injury.
3. Immobilize the leg as it is
Movement increases pain, bleeding and damage. Immobilize the leg in the position you find it, without straightening it. Two straight sticks placed on either side, spanning the knee and ankle, tied with strips of shirt, the belt or the laces, make an improvised splint. Do not tie too tightly: check that the toes stay warm and pink. Keep your boots on: they support the ankle and protect the foot from the cold.
4. Protect yourself from cold and shock
A serious injury, pain and immobility lower body temperature, even in summer. In shorts and a shirt, hypothermia is a real risk as soon as night falls. Insulate yourself from the rock with whatever you can find (leaves, branches, moss), shelter from the wind and keep your upper body covered. Lie down if possible, with your legs still, to limit shock.
5. The phone: retrieve it only if it is safe
The phone is your best chance of a quick rescue, but not at the cost of a second fall. If it is truly within reach without leaning over the drop, a stick can help you pull it toward you. If it means moving across unstable ground with a broken leg, give up. If you do get it: dial 911 (112 in France), even with weak signal. Several recent phones also offer an emergency satellite feature when there is no coverage at all. Save the battery between calls.
6. Signal your presence
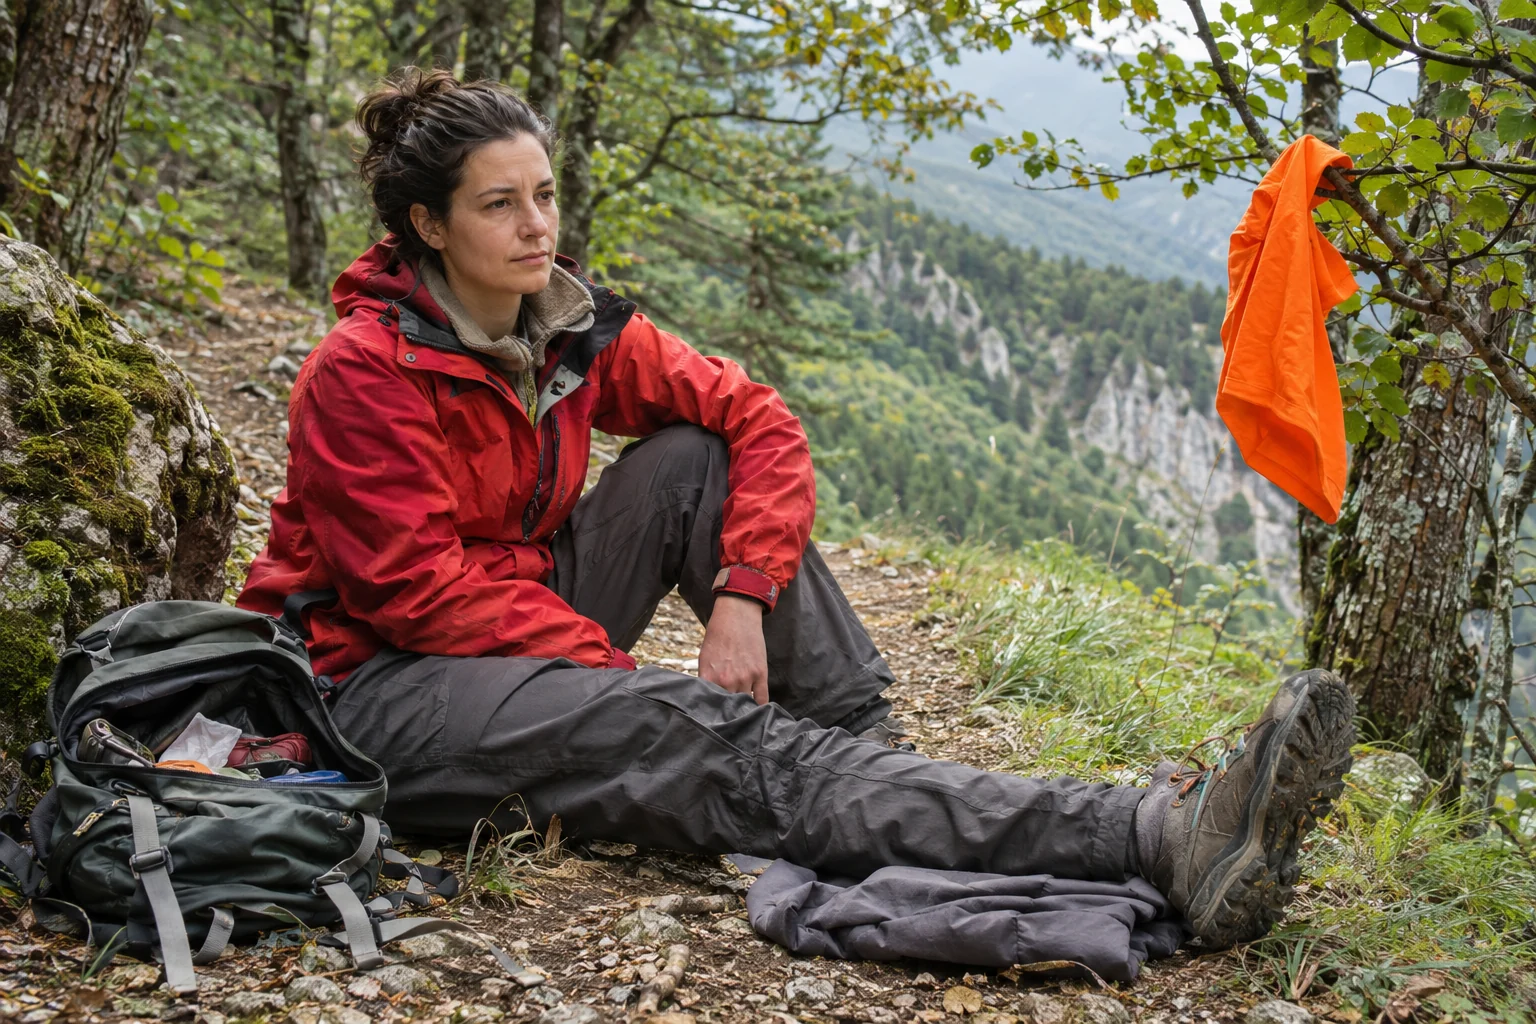
Without a phone, you need to be seen and heard. Shout in sets of three, the universal distress signal, then rest to save your energy. Hang a brightly coloured piece of clothing where it can be seen. The lighter can be used to make smoke, but a fire on a narrow ledge near vegetation carries a real risk of wildfire and burns: only consider it on bare rock, with a very small fire. At night, a brief, repeated flame can be seen from far away. Stay where you are: you are near the trail, and that is where people will look for you.
- Get safeDon’t fall further, wedge yourself against the rock.
- TreatCover the wound, control bleeding, immobilize.
- ProtectInsulate from the ground, block the wind, limit shock.
- AlertPhone if safe, otherwise shouts in threes, colour, careful smoke.
- Hold onStay put, save energy, keep hope.
What this scenario really teaches
The difference between an accident and a tragedy is often decided before you leave. Three simple habits would have transformed this scenario:
- A trip plan left with a loved one: the trail, the parking area, the expected return time and the time to call for help if you have not checked in.
- A way to raise the alarm on your body: a whistle around your neck or on your shoulder strap, and for remote outings, a personal locator beacon or satellite messenger. See personal locator beacons: features and registration.
- A small, complete day pack, always on your back: water, a warm and waterproof layer, a headlamp, a compact first aid kit, an emergency blanket, a way to make fire. See a hiking first aid kit: contents and organization.
Finally, wilderness first aid training is worth more than any gear: immobilizing a limb, controlling bleeding and recognizing hypothermia can be learned in a weekend. For cold conditions, see also cold-weather survival: warmth, shelter and first aid, and for another practical case, the scenario of a deep wound alone in the woods.
And you, what would you do?
Take five minutes to answer honestly: who will know where you are on your next outing? What is in your day pack? Could you call for help if your phone fell out of reach? If even one of those answers makes you uneasy, you know where to start. A family backpacking trip is also a great way to test your gear in a safe setting, and the preparedness review helps you spot your blind spots.
Frequently asked questions
Should you push the bone back in with an open fracture?
No. Never try to realign a bone that is sticking out through the skin. Cover the wound with clean fabric, control bleeding by pressing around it, and immobilize the limb in the position you find it.
What is the distress signal in the outdoors?
Three repeated signals: three whistle blasts, three shouts, three flashes of light or three fires. Repeat the series at regular intervals, resting in between.
Is a personal locator beacon useful for hiking?
Yes, especially when hiking solo or in areas without cell coverage. It sends your position to search and rescue services by satellite. In Canada, it must be registered with the Canadian Beacon Registry.
Should you stay put when injured?
Generally, yes, especially if you are near a trail and someone knows your route. Moving while injured increases the risk of falling and makes searches harder.