
In this article
Growing edible mushrooms at home can complement a vegetable garden and develop food-growing skills. A clearly identified kit from a reputable supplier reduces the technical work for a beginner. It guarantees no yield and does not teach identification of wild mushrooms.
Choose a first growing project
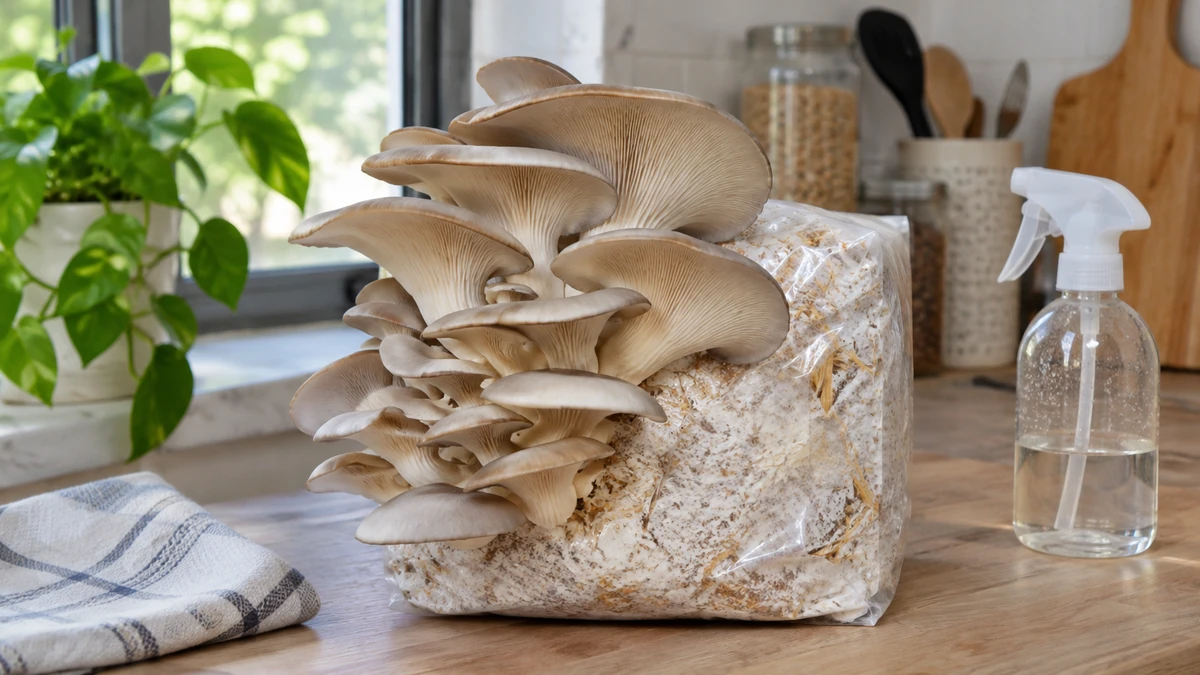
Pleurotes are frequently offered as starter kits. Other species require different substrates and conditions. Choose according to the available temperature, space, maintenance time and exact product instructions. A vague trade name is not enough: the species and instructions must be identifiable.
Do not start from a mushroom picked up outside or from a substrate of unknown origin for a first food crop. A photograph does not always establish a secure identification. The cultivation of a known edible species and the identification of a wild harvest are two distinct approaches.
Understand the substrate
Mycelium colonizes a material adapted to the species before producing the harvested mushrooms. Straw, sawdust, wood and other supports are not interchangeable. The treatment of the substrate, its moisture and inoculation conditions influence contamination and success. For a kit ready to grow, do not replace the instructions with an improvised recipe.
A recovered carton or apparently clean plant material may contain undesirable substances or organisms. The ease of obtaining a support does not demonstrate that it is suitable for production intended to be eaten. Keep track of the product and materials used.
Set up the kit in a suitable space
Choose a location that is clean, accessible and compatible with the required humidity. Protect water-sensitive surfaces and avoid permanently diffusing moisture into the home. The air must be able to renew itself according to the needs of the culture; a closed space is not automatically more favorable.
Follow the indicated temperature range, light exposure and humidification rate. Not all mushrooms require complete darkness. Excessive vaporization or proximity to a heater can compromise the result. A small thermometer and an observation log help to understand the conditions actually obtained.
Observe without unnecessary handling
Note the opening date, the care provided and the evolution. Handle with clean hands and tools. Unusual smell, unexpected colouring or degradation should lead to consulting the supplier and not consuming a questionable harvest. Do not taste to check if a contamination is dangerous.
The color alone does not allow the beginner to slice all cases. Some species or stages have special appearances. Compare with the exact kit indications and ask for proper evaluation, rather than applying a universal rule found on an image.
Harvest and store as a perishable food
Harvest at the recommended stage with clean material. Keep mushrooms separate from soiled products and organize their use quickly. A homemade crop is not stable at room temperature because it has just been picked. Respect the conservation conditions and cooking recommendations specific to the species.
To freeze or dehydrate, choose a proven method and adapt the packaging to the final product. Visible drying alone is not enough moisture to promise many years of storage. Label lots and do not add a new crop to an old untracked container.
Assess its actual household value
Compare the cost of the kit, harvests, time spent and losses. The production mainly provides learning and a culinary supplement; it does not replace a balanced food reserve. Don’t calculate household autonomy on the advertised yield of a kit you haven’t tried yet.
After a successful first culture, you will be able to consider a more demanding technique with proper training and equipment. Keep notes on conditions, cleanliness, dates and results. A documented progression is more useful than a rapid multiplication of crops whose quality is not controlled.