
In this article
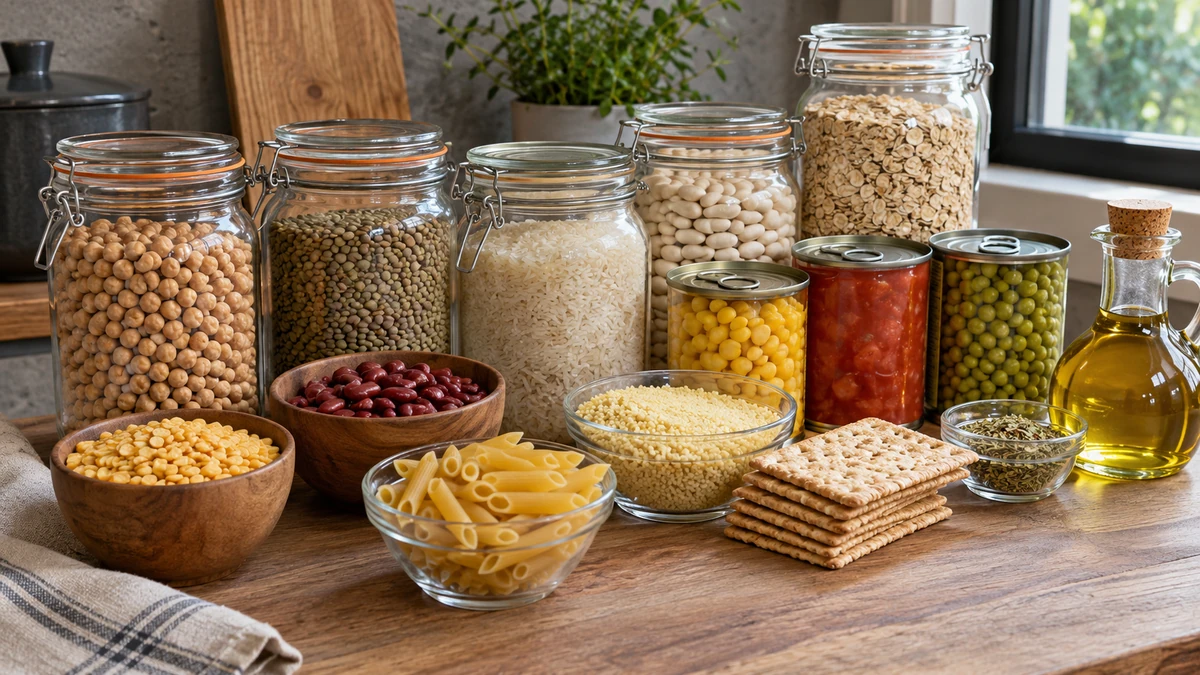
Preparing for a disruption involves more than just storing food. You must also know what meals your household can prepare using the water, utensils, and energy actually available to you. The thirteen suggestions below detail the necessary ingredients and preparation steps, along with cooking and storage guidelines that should be verified for each specific food item. Not all of these can be prepared without electricity; requirements such as an oven, dehydrator, refrigeration, and fuel must be planned for separately.
These thirteen preparations range from bread and soup to dried fruits and meat products. A freshly cooked meal and a shelf-stable preserved food are two different things. Do not build a large stockpile based solely on a shelf-life duration mentioned here. Dried meats and pemmican require special attention: while historical recipes are identified, any steps that have not been scientifically validated should not be followed as a formal preservation protocol.
Bannock

Bannock—sometimes associated with "banique" or pan bread—exists in many forms and traditions. The version in this article uses buttermilk and baking soda; while it does not rely on baker’s yeast, it does include a leavening agent. It can be prepared using appropriate cooking equipment; please do not attempt to replicate the historical method of cooking over a campfire or in a fireplace within an indoor setting.
Ingredients:
- 4 cups all-purpose flour
- ½ tsp salt
- ½ tsp baking soda
- 1 tbsp sugar
- 1¾ cups dried fruit (optional)
- 1 tsp chopped rosemary (optional)
- 1½ cups buttermilk
Instructions:
- Mix the dry ingredients together in a bowl.
- Gradually add the buttermilk to form a thick batter or dough.
- Heat a lightly greased pan over a suitable heat source. Form a patty of uniform thickness; cover the pan if your cooking method calls for it, and flip the patty to cook both sides. The ten minutes per side suggested in the original recipe are a rough guideline, not a guarantee—cooking time will vary based on the patty’s diameter and thickness, the type of pan used, and the heat level. Ensure the center is no longer raw batter or dough; if necessary, divide the mixture into smaller patties to help them cook evenly.
- Let cool slightly before serving.
Beans and Rice
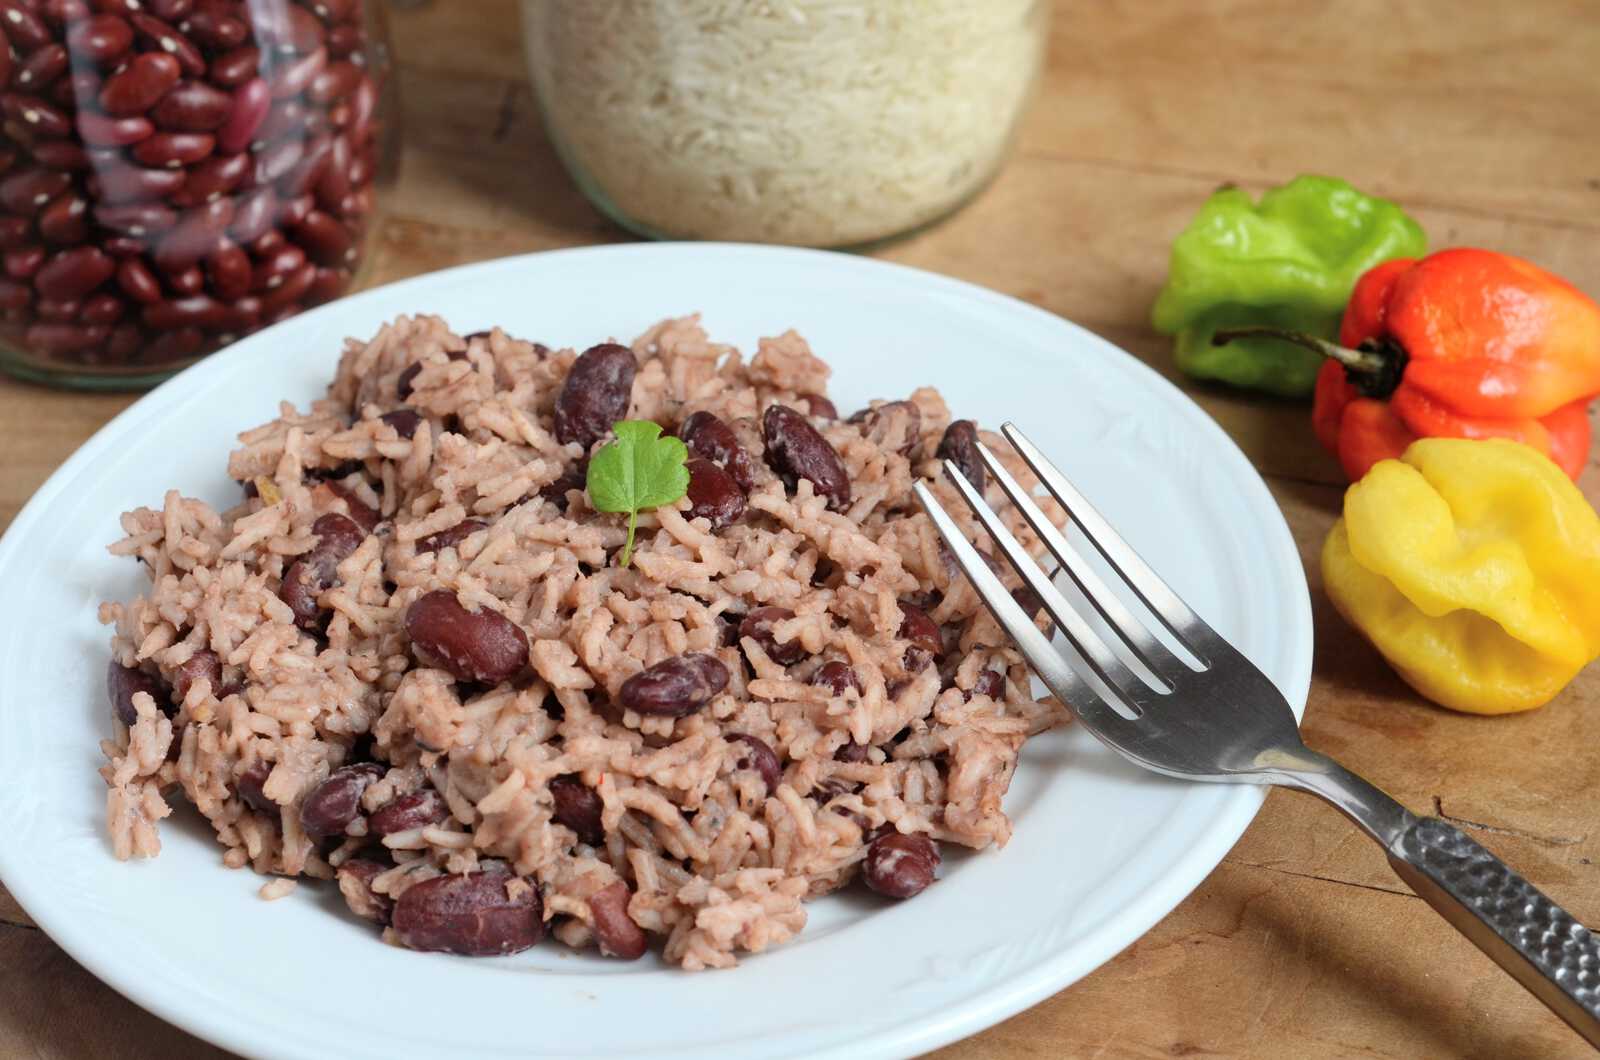
This basic recipe combines two essential ingredients to create a nutritious and budget-friendly meal. Add spices or bacon for extra flavor.
Ingredients:
- Equal parts dry beans (pinto, black, or Great Northern) and rice
- Salt and pepper (to taste)
- Potable water: account for separate water requirements for soaking the beans, cooking the beans, and cooking the rice. The specific volumes depend on the individual products and their package instructions, rather than a single universal ratio for the entire dish.
- Spices or garlic (optional)
Instructions:
- Sort and rinse the beans. Follow the package instructions for soaking, and discard the soaking water. For dry red beans, Health Canada recommends soaking for at least five hours, followed by cooking at a rolling boil; slow cooking alone is not sufficient to neutralize lectins.
- Cook the beans in fresh water. For red kidney beans that have been pre-soaked, maintain a vigorous boil for at least ten minutes, then continue cooking according to the package instructions until fully done.
- Cook the rice according to its own specific instructions and add it to the cooked beans; alternatively, adjust the timing by adding the rice toward the end of the beans' cooking process, gauging how much additional water is required. Do not subject all types of rice to an extra thirty minutes of cooking. Using canned, pre-cooked beans can help reduce the amount of water and energy needed during an emergency or power outage.
- Season with salt, pepper, and spices to taste before serving.
Reference regarding dry kidney beans:Health Canada — lectins in dry legumesLeftover rice and beans must be cooled and stored according to food safety guidelines; do not leave them in the pot overnight.
Biltong
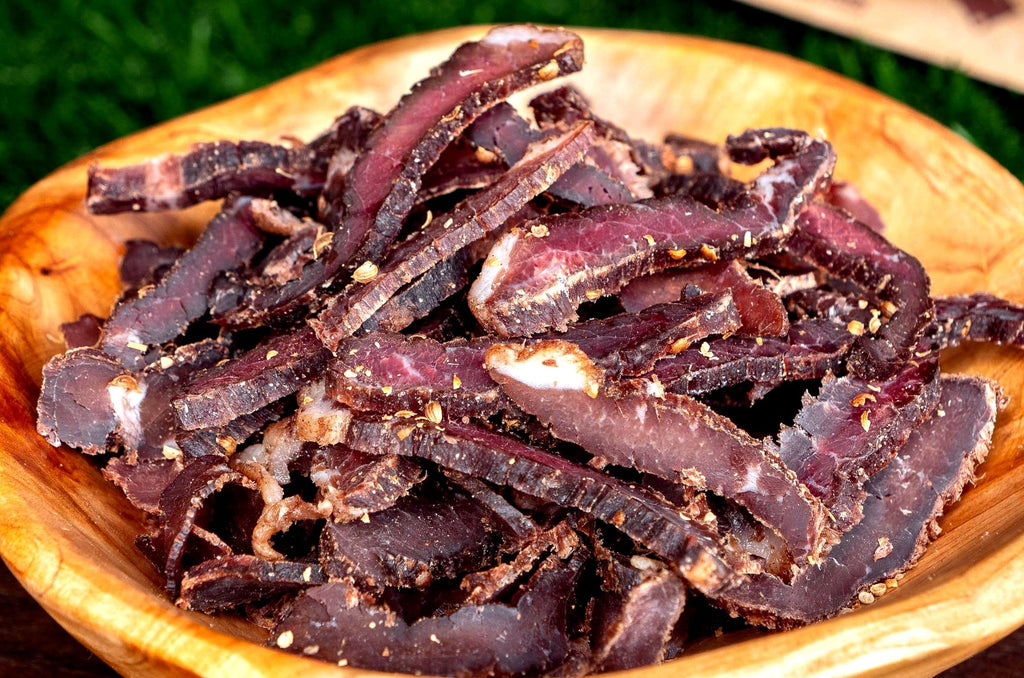
Biltong is a type of dried meat preparation, most notably associated with Southern Africa. Its culinary nature does not make it "more natural" or safer than any other product. The traditional recipe involves an acidic marinade, salt, and air-drying; these steps alone do not guarantee the destruction of pathogens. The historical quantities are provided below to illustrate the formulation, but this does not constitute a validated protocol for making biltong at home.
- 1 lb lean meat
- 4 oz red wine vinegar
- 2 oz Worcestershire sauce
- 3.5 oz salt
- 1 oz peppercorns
- 2 oz coriander seeds
Preparation: points to consider before attempting
- Choose a biltong recipe that has been validated for the specific process and equipment being used, or opt for a properly preserved commercial product. Simply slicing meat into strips does not eliminate contaminants present in raw meat. Keep the meat refrigerated and prevent cross-contamination.
- The quantities of vinegar and Worcestershire sauce listed in this historical formulation serve as an aromatic marinade. A two-hour soaking period is not sufficient to ensure adequate acidification or the destruction of microbes. Do not rely on this duration as a safety measure.
- Salt, pepper, and coriander add flavor and may play a role in certain controlled processes; however, simply sprinkling them on does not guarantee a stable meat product. Process measurements and a validated recipe are still required. Do not taste the product while it is raw.
- Do not follow the old practice of hanging strips for three to seven days in a room that is merely ventilated. This method does not account for temperature, humidity, thickness, or specific treatment protocols.
Corn Dodgers
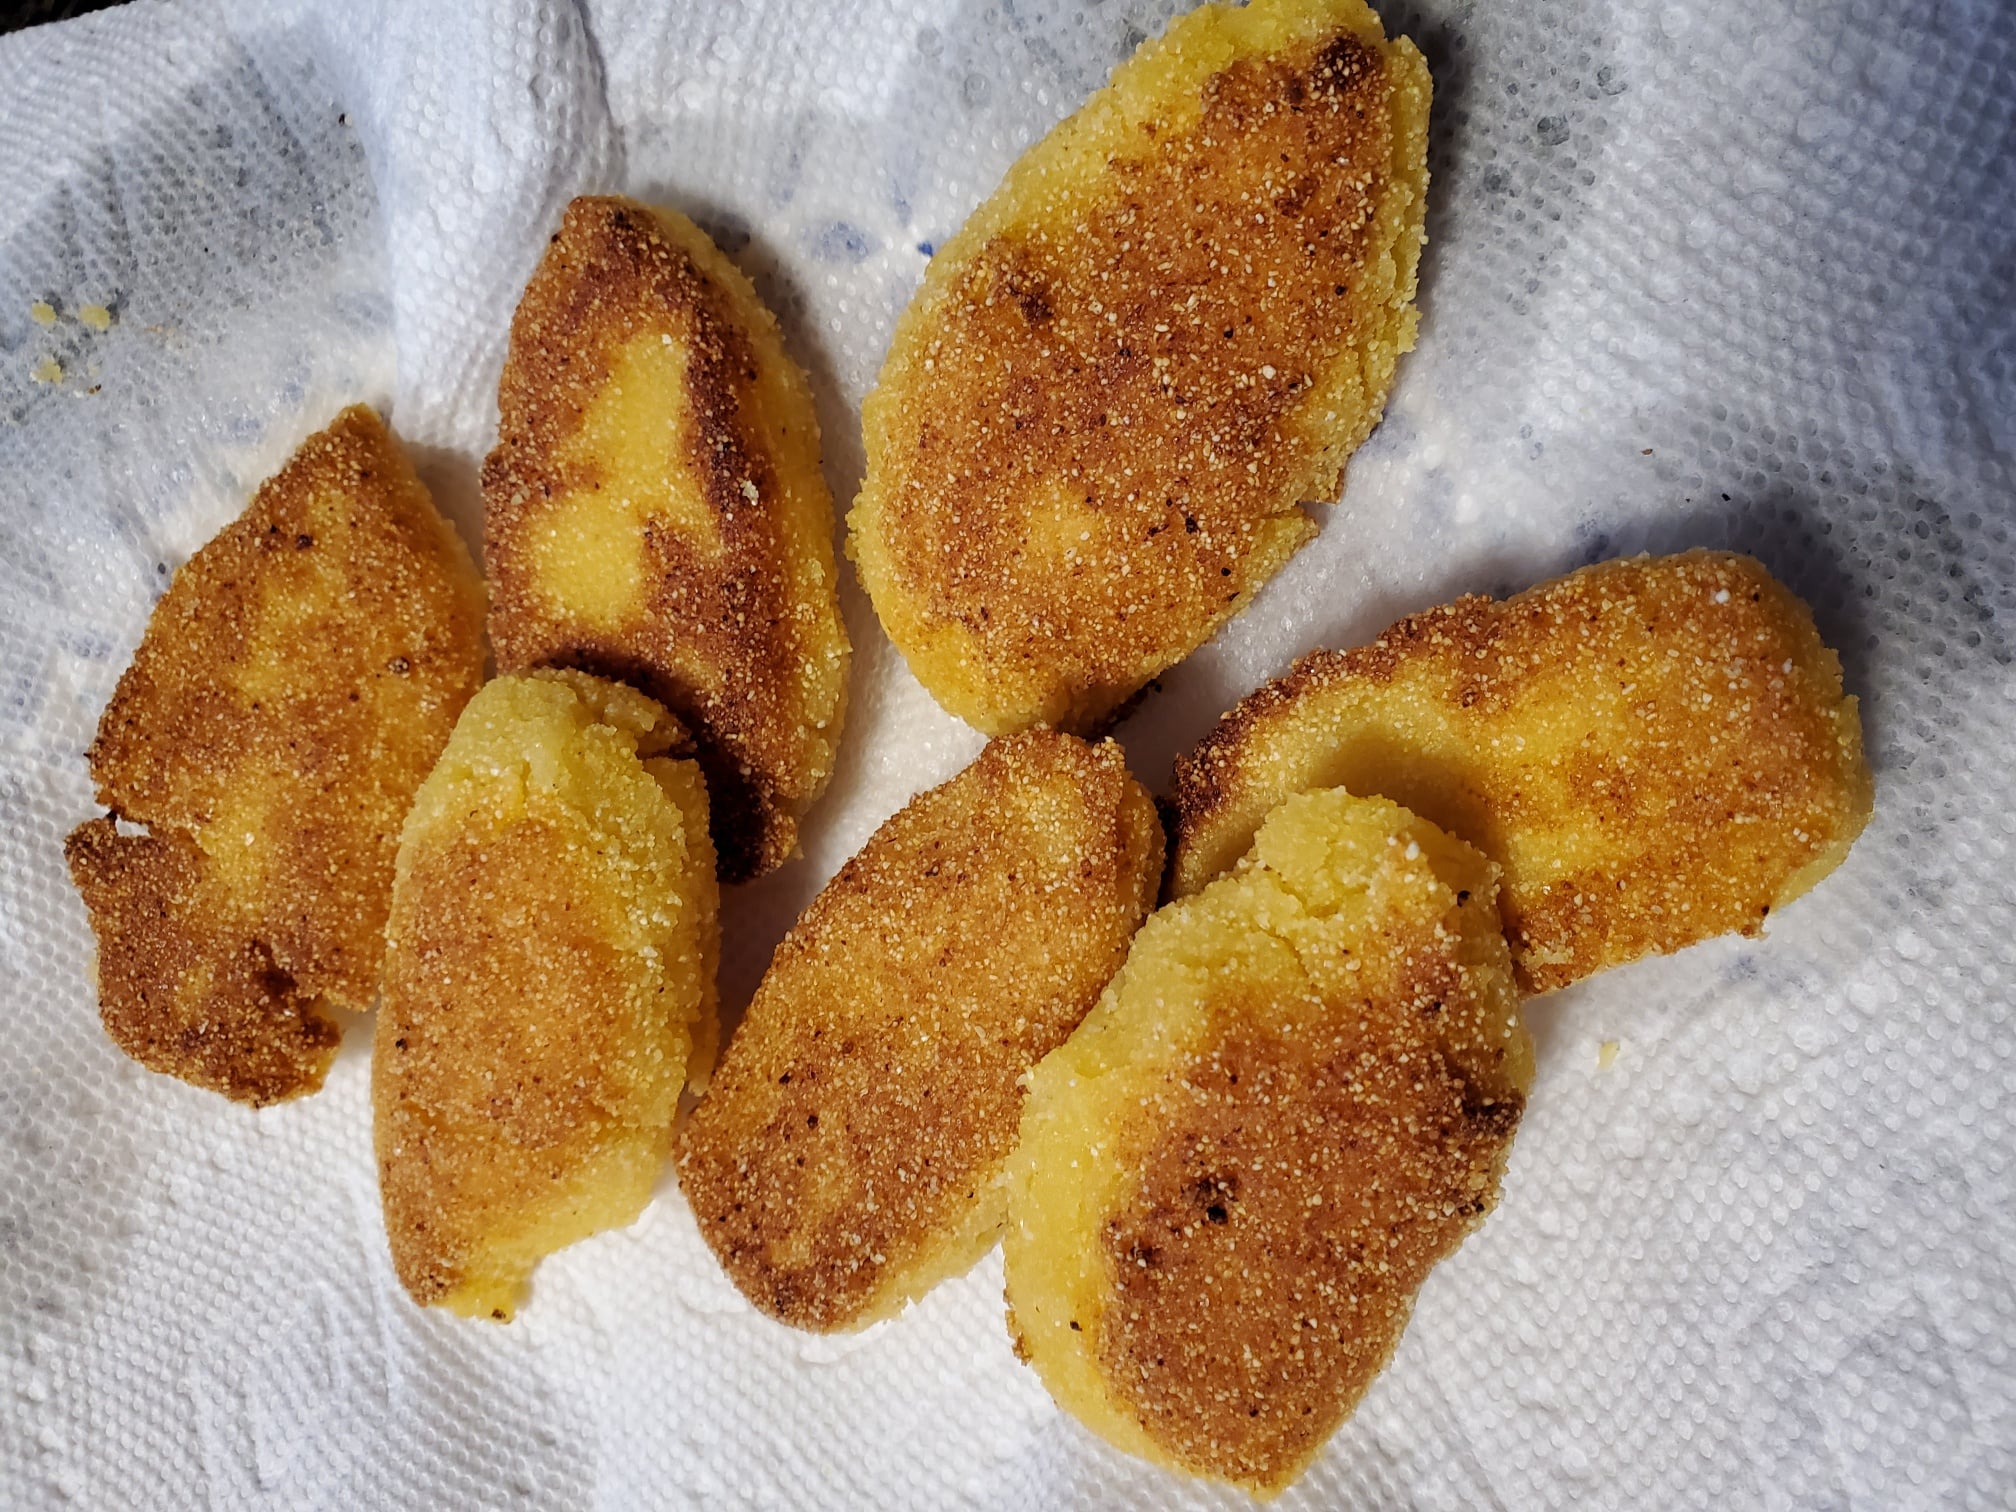
Corn dodgers are small cornbread cakes that pair perfectly with soups and stews.
Ingredients:
- 2 cups cornmeal
- 2 tablespoons coconut oil
- ½ teaspoon salt
- 2 tablespoons brown sugar
- 2 cups milk
- 1 teaspoon baking powder
Instructions:
- Preheat the oven to 200°C (400°F).
- Mix all the ingredients together in a bowl until a smooth batter is formed.
- Form small patties and place them on a baking sheet lined with parchment paper.
- Bake for 15 to 20 minutes, until golden brown.
Dried fruit
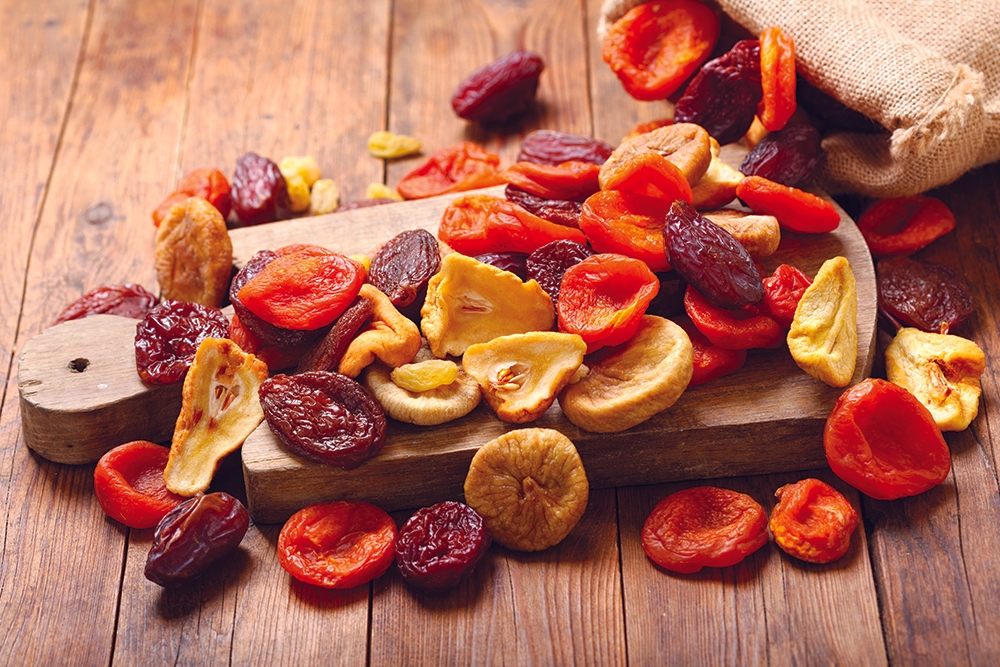
Dried fruit can be a great addition to snacks, cereals, or desserts. The drying process does not preserve all vitamins, and the shelf life of the final products varies. Using a controlled dehydrator generally yields more predictable results than outdoor drying, especially in humid climates. The best method depends on the type of fruit and its specific preparation requirements.
Ingredients:
- Fruit of your choice (apples, bananas, pears, berries, mangoes, etc.)
- ½ cup lemon juice
- ½ cup water
Instructions:
- Preparing the fruit:
- Wash the fruit and peel it, if necessary.
- Cut into thin, uniform slices to ensure even drying.
- Soaking:
- Mix the lemon juice and water in a bowl.
- Soaking the fruit in this lemon-water mixture can help prevent browning.
- Drying:
- With a dehydrator: arrange slices without overlapping and follow the manual and a procedure appropriate for the fruit. Temperature and duration depend on thickness, airflow and the appliance; one setting does not suit every fruit. Check the result and the storage instructions for the chosen process.
- Using an oven: check that the manufacturer permits prolonged use at low temperatures and verify the necessary ventilation requirements. Do not leave the oven door ajar—unless specified by the manufacturer’s instructions—especially if children might be nearby. The drying time depends on the type of fruit and the specific appliance; an oven with a minimum temperature that is too high is not necessarily a suitable dehydrator.
- Sun-drying: this method is only suitable for certain fruits under hot, dry, and well-ventilated conditions, provided there is protection against insects and a way to manage nighttime humidity. In Quebec, a one-to-three-day exposure period is not a reliable method throughout the year. If the necessary conditions cannot be met and maintained, choose a controlled drying method instead. Never attempt to sun-dry meat.
- Checking:
- Check the final product based on the method used, then allow it to cool and ensure that all pieces are dried uniformly. A dry surface does not guarantee that the entire piece has reached the required state. Preparing dried fruit for storage may require a "conditioning" (moisture-balancing) phase, as described in specialized resources.
- Storage:
- Store the items in clean, appropriate, and clearly labeled containers, following your chosen protocol. Monitor for moisture, condensation, or mold; any food that shows signs of mold must be discarded. Consult guidelines for the storage of dried foods rather than assuming they have an indefinite shelf life.
These fruits can be eaten as a snack or incorporated into various recipes. Consider whether rehydration is necessary, and be mindful of the dietary needs or sensitivities of those who will be consuming them. To better understand the challenges associated with sun-drying, refer to the specialized fact sheet from the National Center for Home Food Preservation. Dried fruit does not constitute a universal nutritional serving, nor is there any guarantee that all its vitamins are preserved.
Hardtack
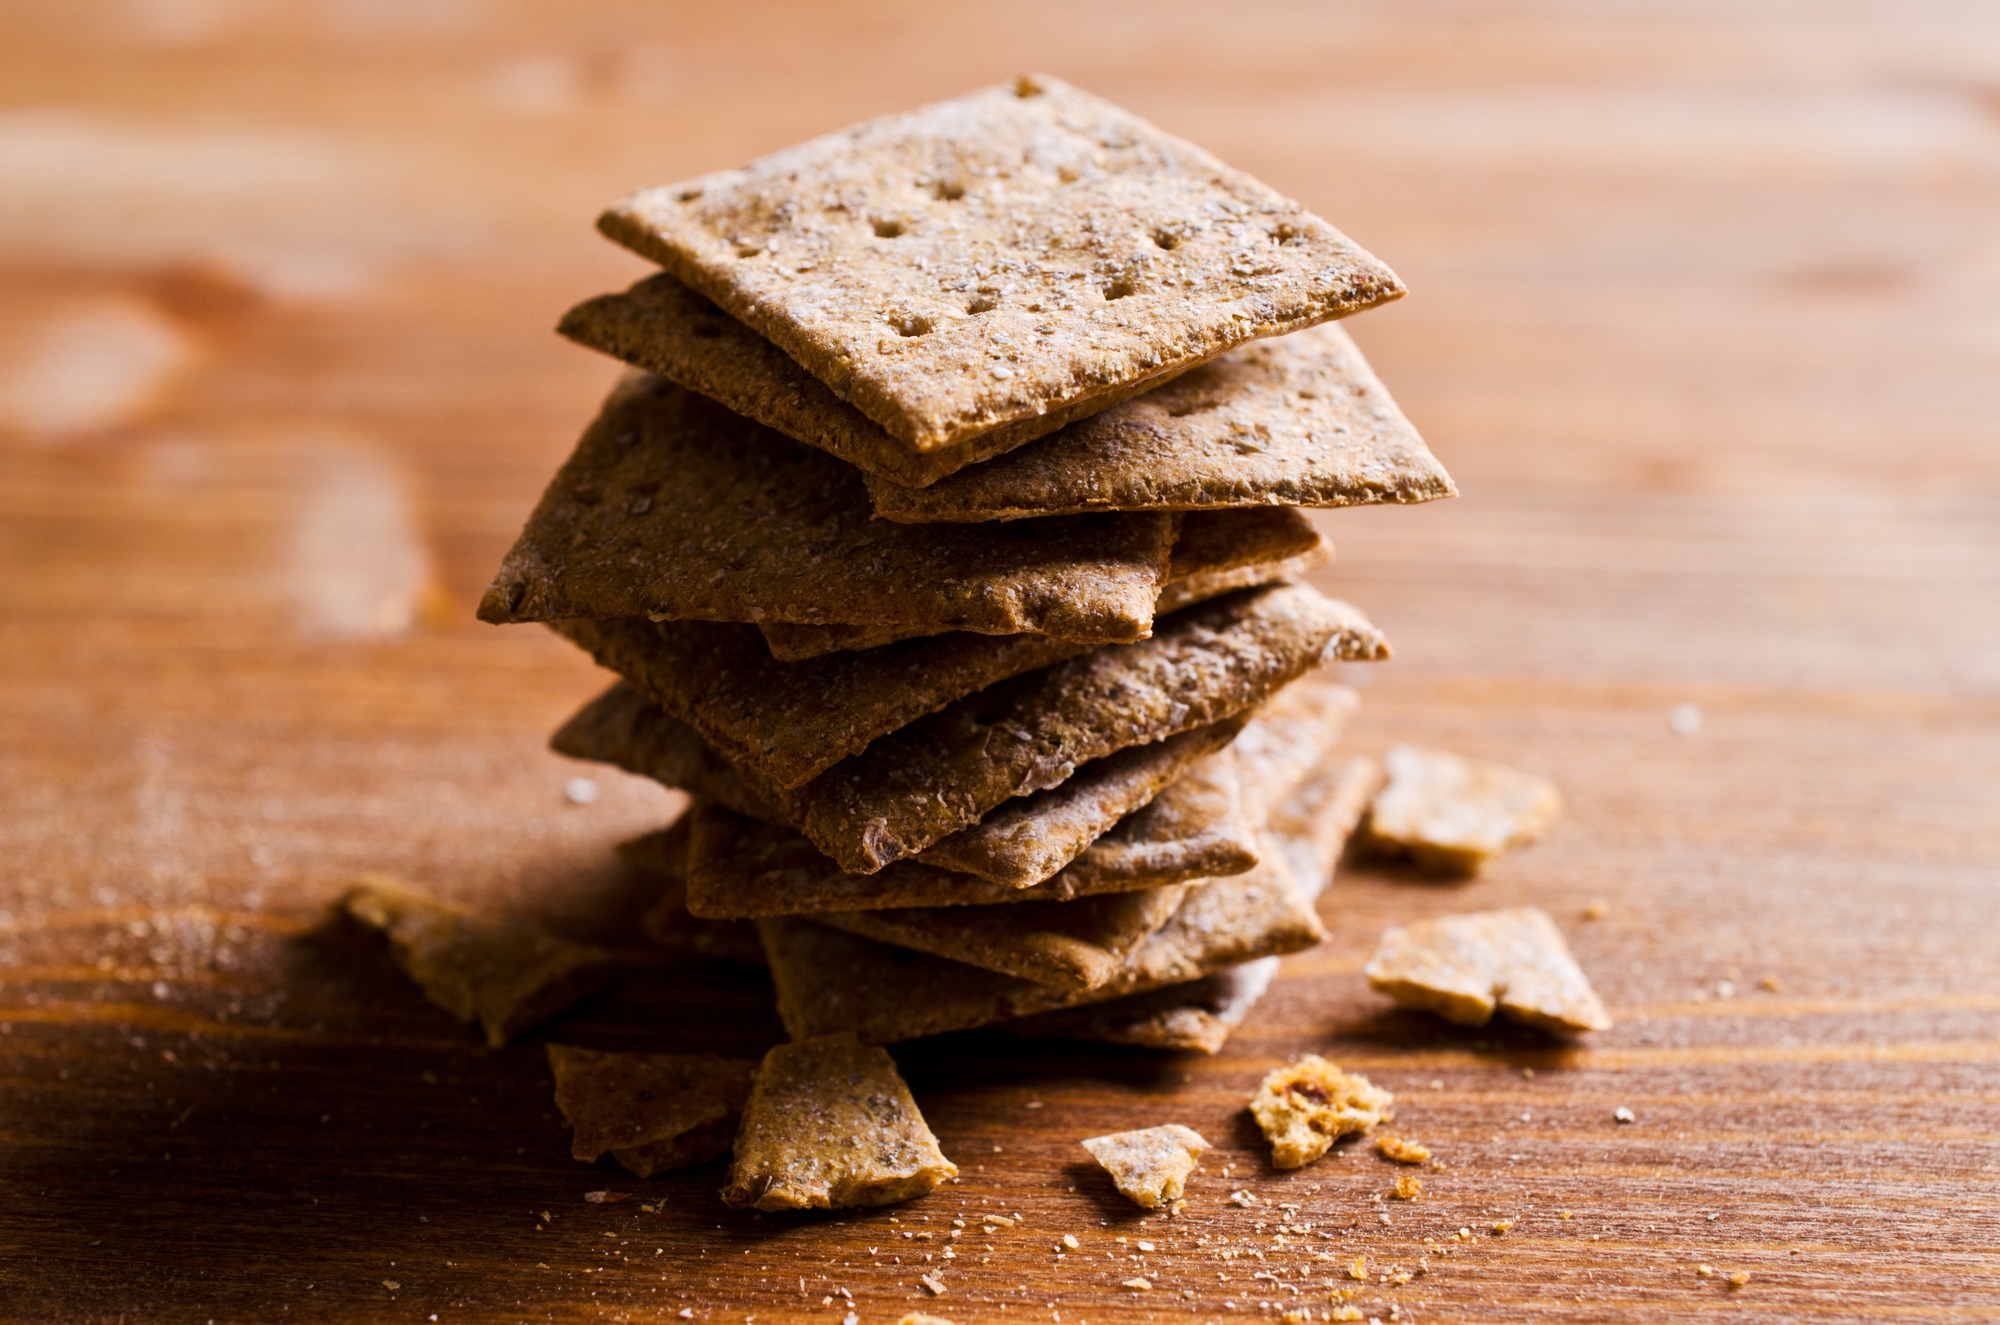
Hardtack, or sea biscuit, is historically associated with travel and dry provisions. The flour-and-water recipe below can be used to make a very hard biscuit; however, it has not been validated for a specific shelf life in a home environment. Before eating, it can be softened by soaking it in a suitable liquid, such as a beverage or soup. Because of its extreme hardness, it may pose a risk to teeth or be unsuitable for some individuals; do not present it as a food appropriate for everyone.
Ingredients:
- 5 to 6 cups of flour
- 1 cup of water
Instructions:
- Mix the flour and water to form a firm dough.
- Roll out the dough on a floured surface to a thickness of approximately 1 cm.
- Cut into squares, prick with a fork, and place on a baking sheet.
- Bake in the oven at 150°C (300°F) for 2 hours.
Allow to cool before packaging and follow a proven preservation method. The two-hour oven-drying time mentioned in the source does not guarantee a moisture content low enough for long-term storage (i.e., lasting several years). If you are looking for a shelf-stable commercial ration, compare its specific storage conditions and expiration date rather than assuming the same shelf life applies to these homemade biscuits.
Hoover Stew
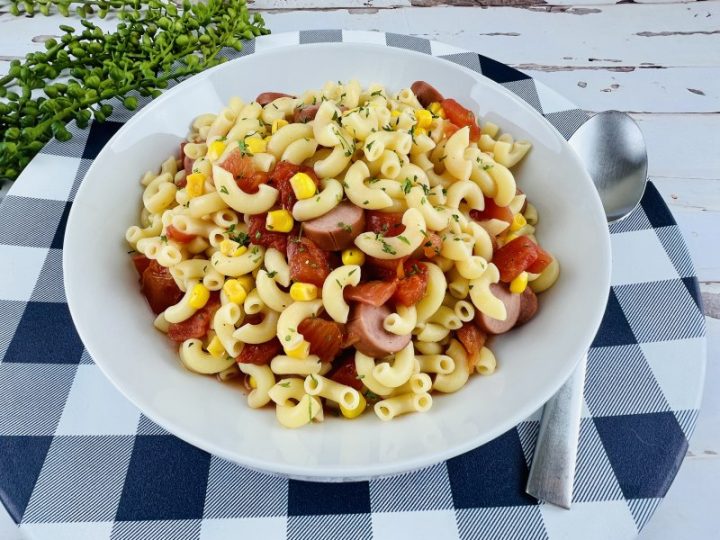
Hoover Stew is an iconic recipe from the Great Depression. Created using simple, affordable ingredients, this dish has stood the test of time thanks to its simplicity and its ability to feed an entire family on a limited budget.
Ingredients:
- 16 oz (approx. 450 g) macaroni or pasta of your choice
- 2 cans (15–16 oz each) crushed tomatoes
- 1 can (15–16 oz) sweet corn
- 1 can (15–16 oz) pinto beans
- 1 package (16 oz) hot dogs (or substitute with ham or canned sausages)
- 1 tbsp dried Italian herbs
- 1 tbsp minced garlic
Instructions:
- Cooking the pasta:
- Cook the macaroni in a large pot of boiling salted water, following the package instructions. Drain and set aside.
- Preparing the vegetables:
- In a large skillet or pot, add the crushed tomatoes, corn, and beans (including their liquid). Heat over medium heat, stirring well.
- Adding the hot dogs:
- Slice the hot dogs into rounds and add them to the mixture. Follow the instructions on their packaging for reheating, and use a thermometer if the type of dish or the individuals being served require it.
- Seasoning:
- Add the Italian herbs and garlic. Season with salt and pepper to taste.
- Assembly:
- Fold the cooked pasta into the vegetable and hot dog mixture. Stir gently to ensure the ingredients are well distributed.
- Serving:
- Serve hot, directly into bowls or onto plates. This stew is even better when accompanied by bread or crackers.
Tip:
If you are missing certain ingredients, this recipe is highly adaptable. You can swap the pinto beans for other legumes, or replace the corn with any canned vegetables you have on hand. "Hoover stew" is flexible enough to work with whatever you have available.
Jerky
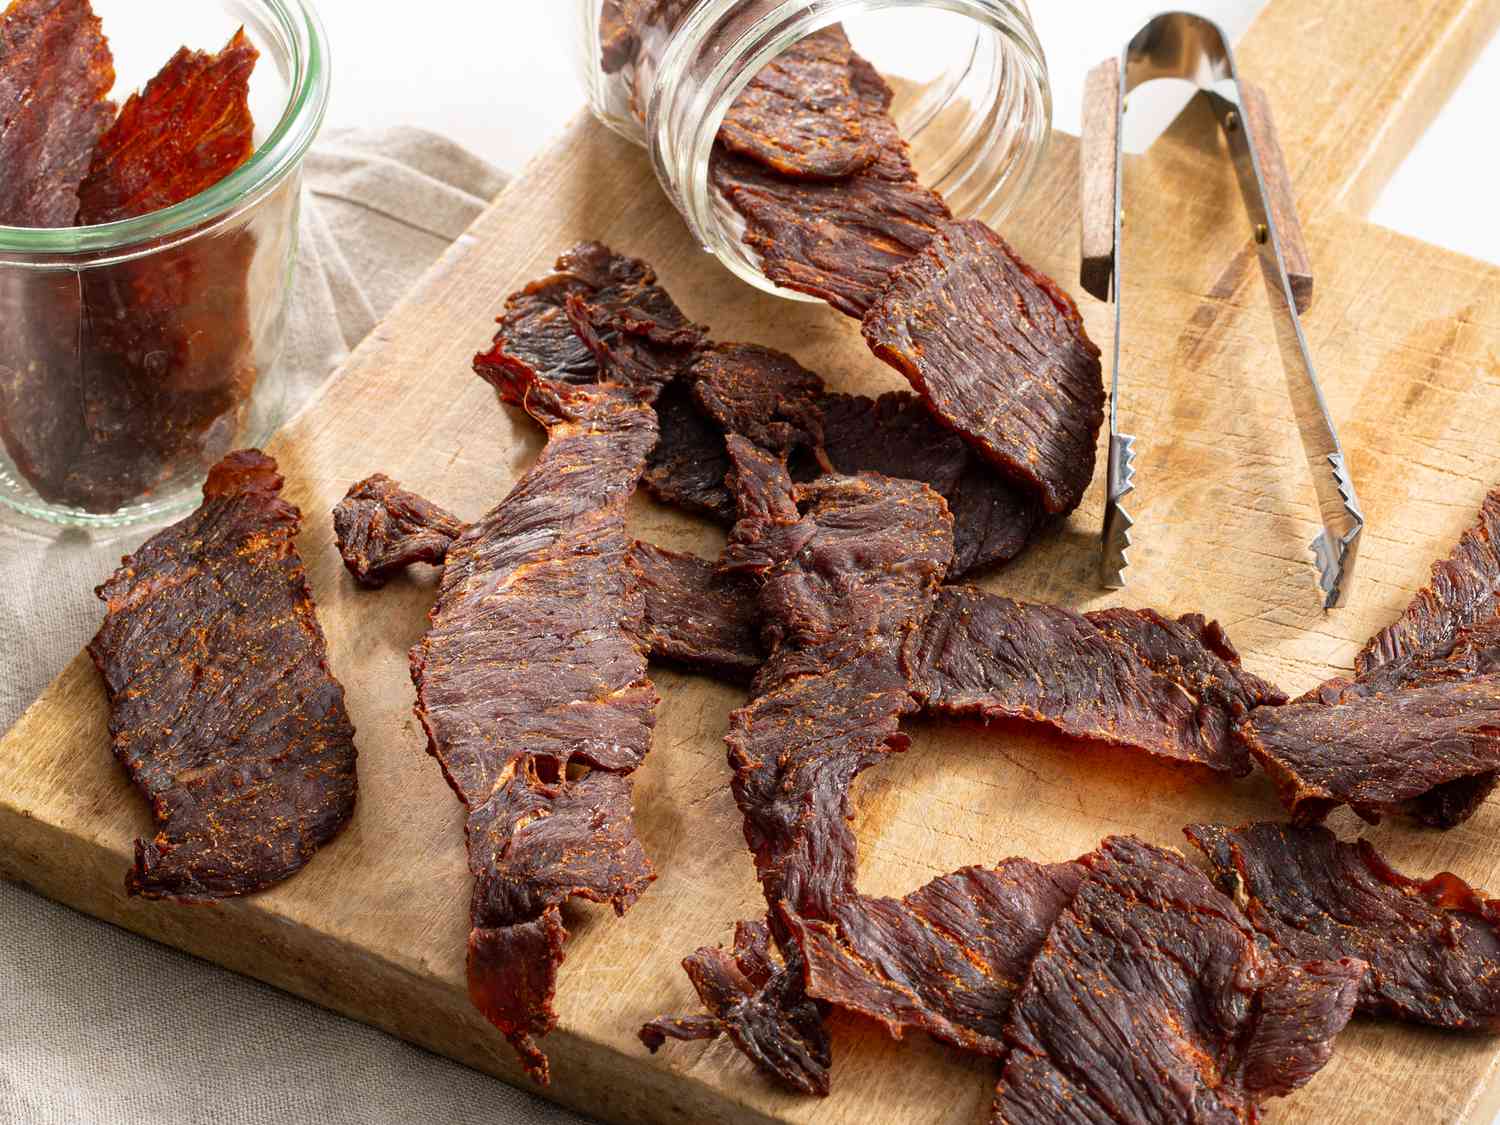
Jerky is meat that has been prepared and then dried; it is a convenient snack to take on the go. Homemade jerky is not necessarily safer or nutritionally superior to store-bought versions. The marinating and drying process must be paired with rigorous sanitary practices.
Ingredients:
- Do not assume that the same preparation parameters will address all potential risks associated with wild game.
- 1 cup wine (or beer, or soy sauce)
- 1 cup apple cider vinegar (or lemon juice)
- 2 tsp sea salt (omit if using soy sauce)
- 1 head of garlic, minced (or 6 cloves)
- ¼ cup brown sugar
- ¼ cup Worcestershire sauce
- ¼ tsp pepper
- 1 tsp dry mustard
- 1 tbsp liquid smoke
- 2 tsp spices (oregano, basil, or other herbs of your choice)
Instructions:
- Meat preparation :
- Slice the meat using clean equipment, following the thickness specified by a proven method. Remove any fat and keep the meat chilled during preparation. The direction in which the meat is sliced affects its texture, but it is not a safety factor.
- Marinating :
- Combine the wine, cider vinegar, salt, garlic, brown sugar, Worcestershire sauce, pepper, dry mustard, liquid smoke, and spices in a large bowl.
- Marinate in the refrigerator, using a suitable container. Do not reuse a marinade that has come into contact with raw meat on any ready-to-eat food.
- Drying :
- Before drying, the USDA recommendation for jerky is to heat the meat to an internal temperature of 71.1°C (160°F)—or 73.9°C (165°F) for poultry—verifying the temperature of several pieces using an appropriate thermometer. Then, follow a complete, validated method suited to the thickness of the meat and the equipment being used. Simply using a dehydrator set to 65°C (150°F) for four to six hours does not guarantee that this internal temperature has been reached within the meat.
- When drying using a dehydrator or an oven, follow the parameters of a validated method and the appliance manufacturer’s instructions. Do not rely solely on a displayed temperature or a set duration to determine that all the strips are safe. Do not leave an oven door ajar unless specified in the instructions. If the equipment does not allow for proper control of the process, choose a different preparation method or opt for a commercially available product.
- Inspection :
- Examining the texture is a supplementary step in the process; it does not replace heat treatment. A dried, flexible strip may still pose a risk if the preceding steps were not properly controlled. Do not taste a questionable piece to verify the safety of the entire batch.
- Storage :
- Allow the product to cool, then package it according to your chosen method. For longer-term storage, specialized resources recommend refrigeration; do not assume a shelf life of months or years for a homemade preparation based solely on its packaging. Maintaining the cold chain and labeling batches remain essential, even when using vacuum packaging.
For the complete process and its limitations, consult the USDA guidelines on making jerky at home and the fact sheet from the National Center for Home Food Preservation. While seasonings can be adjusted to taste, this does not validate a different drying time or method. As a starting point, ensure you also have ready-to-eat foods on hand that do not rely on the prior preparation of dried meat.
Country-style bread
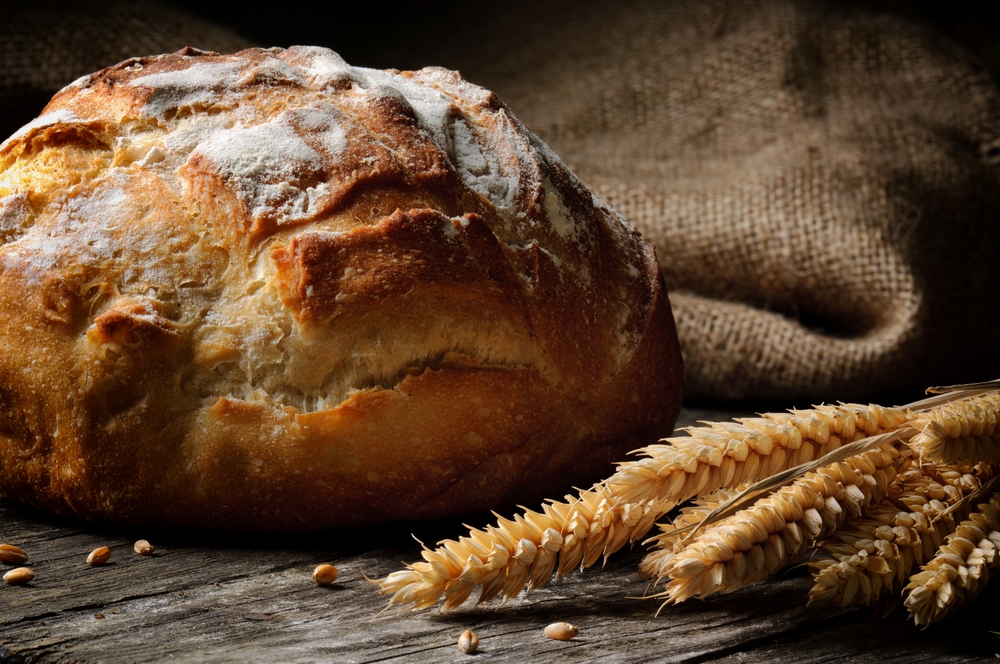
This version of country-style bread uses active dry yeast and a blend of two types of flour. It requires minimal kneading but involves activating the yeast, allowing the dough to rise, and baking—so it cannot be prepared in under an hour. It is suitable for testing in a standard kitchen or in a cooking environment where the necessary conditions are truly met. Treat the quantities below as a formula to be tested, rather than a recipe intended for long-term food preservation.
Ingredients:
- 3 cups of warm water
- 2 tablespoons of sugar
- 1 tbsp. tablespoon active dry yeast
- 1½ tsp salt
- 3 cups whole wheat flour
- 2½ cups all-purpose flour
Instructions:
- In a large bowl, combine the warm water, sugar, and yeast. Let stand for 5 to 10 minutes until the mixture becomes foamy.
- Add the salt, wheat flour, and all-purpose flour. Mix using a wooden spoon until a sticky dough forms.
- Cover the bowl with a clean cloth and let it rise in a warm place for 30 minutes.
- Preheat the oven to 220°C (425°F) and place a baking sheet or pizza stone inside.
- Lightly flour your hands and shape the dough into one or two round loaves. Place them on a sheet of parchment paper.
- Bake for 20 to 25 minutes, until the bread is golden brown. Let cool slightly before serving.
This rustic bread is perfect for accompanying soups, stews, or even simple meals like cheese and vegetables. It can also be sliced to make easy sandwiches.
Pemmican
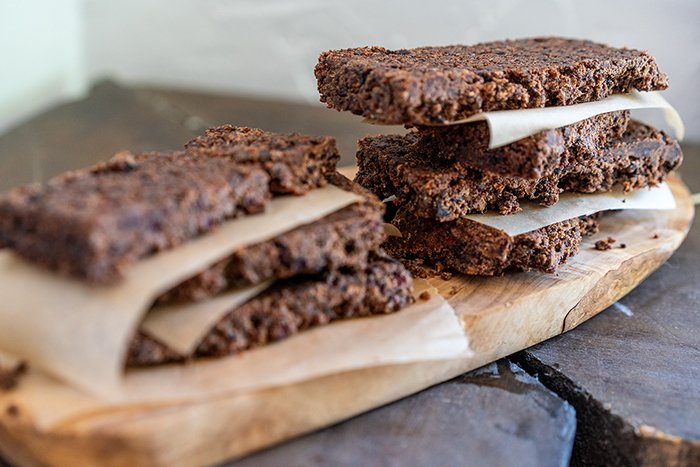
Pemmican is associated with the food traditions of Indigenous peoples in North America, with various regional differences. The traditional recipe combines dried meat, fat, and fruit. Its mention in a historical account does not validate the safety of preparing such a mixture at home today. While the ingredients listed below are historically documented, the safety of the final product depends on factors such as how the meat is processed, moisture levels, and how the finished product is stored.
Ingredients:
- 4 oz dried meat
- 2 oz rendered fat
- 1 oz raisins or cranberries
- 1 tbsp honey (optional)
Instructions:
- Before using dried meat, verify its origin and the process used to prepare it. Grinding meat into a powder does not eliminate contaminants. Commercial products must be used according to their labels; homemade products require a validated preparation method before this step.
- The traditional formulation presented here consists of rendered fat, meat, and fruit. Simply mixing these ingredients does not result in a sterile, shelf-stable product, and reheating the fat does not ensure the safety of the entire mixture. Do not use this description to determine a shelf life for storage at room temperature.
- Do not rely on the old instruction to "let cool and store in a dry place" as a method for long-term preservation. Preparations intended for immediate consumption must be stored in a manner appropriate for their specific ingredients; for a shelf-stable product, consult a validated process or choose a suitable commercial alternative. This section is included only to explain the shortcomings of the historical recipe, not to guarantee that homemade pemmican will be safe for long-term storage.
Ration bars
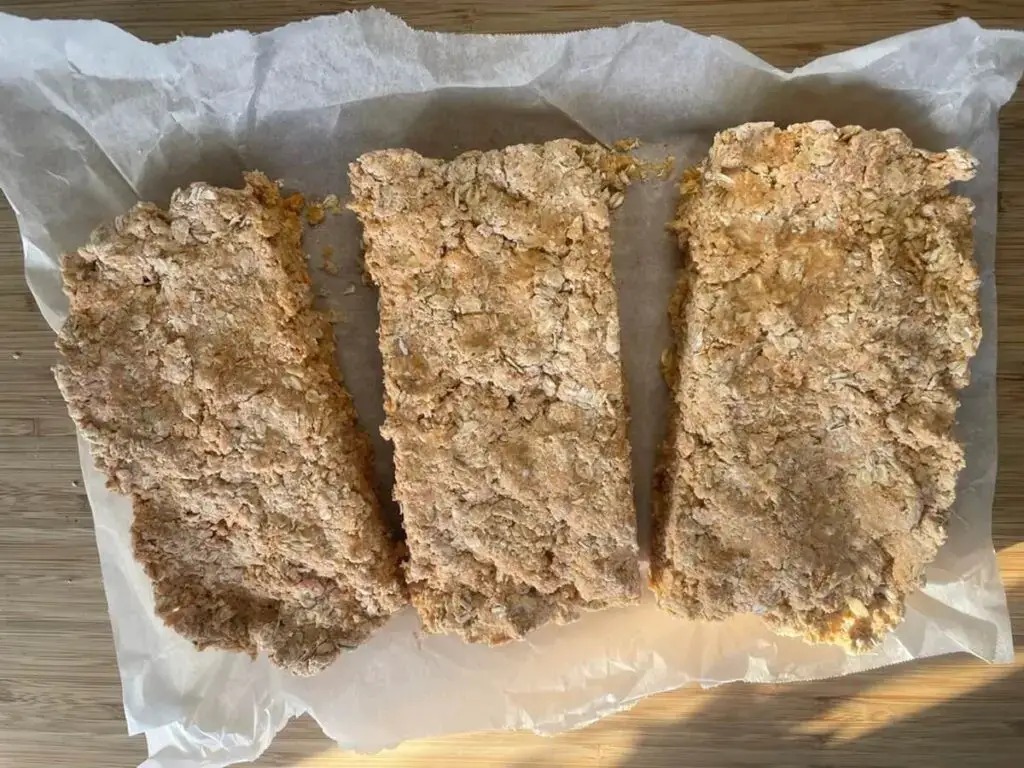
These homemade bars contain oats, powdered milk, sugar, honey, and a gelling agent. They should be viewed as a snack recipe that requires further evaluation; they are not equivalent to commercial ration bars, nor have they been assessed for individual nutritional needs. Adding water rehydrates the ingredients, meaning the use of powdered milk does not automatically render the final mixture shelf-stable.
Ingredients:
- 4 cups of oats
- 5 cups of powdered milk (use skimmed milk for better shelf stability, or whole milk for a higher calorie content)
- 2 cups of sugar
- 6 tbsp. tablespoon of honey
- 2 packages (3 oz each) of orange gelatin
- 1 cup of water
Instructions:
- Heat the water in a saucepan over medium heat and add the gelatin, stirring until completely dissolved.
- Stir in the honey and sugar, mixing until the consistency is smooth.
- In a large bowl, mix the oats and powdered milk.
- Pour the hot liquid mixture over the dry ingredients and stir quickly to coat thoroughly.
- Spread the mixture into a rectangular dish, flatten it evenly, and allow it to cool completely.
- Once cooled, cut the preparation into portions in accordance with dietary guidelines, then ensure appropriate storage for this moist mixture. An airtight container is not sufficient to guarantee stability at room temperature. No validated long-term shelf life is provided for this formulation.
Tasting the mixture or adding nuts and fruit does not address the issue of shelf life. Prepare only a limited quantity for immediate use and proper storage, or opt for commercially produced rations with clearly defined specifications, dates, and allergen information.
Spotted Pup
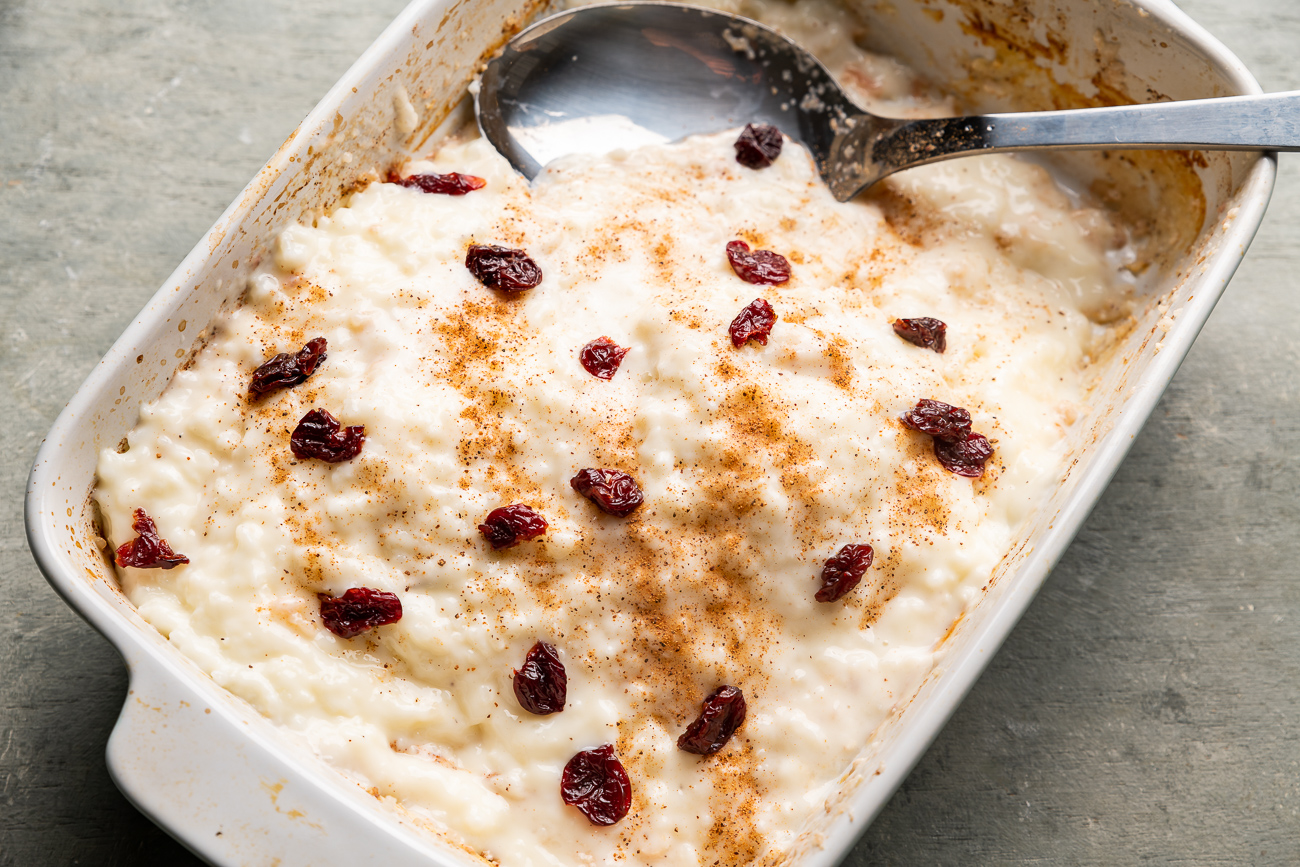
"Spotted Pup" is a rice pudding enriched with dried fruit, perfect for breakfast or as a dessert.
Ingredients:
- 2 cups cooked rice
- 1⅓ cups milk
- ⅓ cup brown sugar
- 1 tbsp butter
- 2 beaten eggs
- 1 tsp cinnamon
- 1 tsp nutmeg
- 1 tsp vanilla extract
- ½ cup raisins
Instructions:
- Combine the milk, sugar, and butter in a saucepan and heat over low heat.
- Add the rice and raisins, then stir in the beaten eggs.
- Add the cinnamon and nutmeg, then continue cooking over controlled heat, stirring to ensure even heating. This recipe contains eggs; Canadian guidelines recommend reaching an internal temperature of 74°C (165°F) for egg-based dishes.
SeeHealth Canada — egg safety. Consume or refrigerate portions promptly, in accordance with food safety guidelines. This rice pudding containing eggs is not a shelf-stable product; it requires refrigeration, even if the rice and raisins were stored at room temperature prior to preparation.
Survival Soup
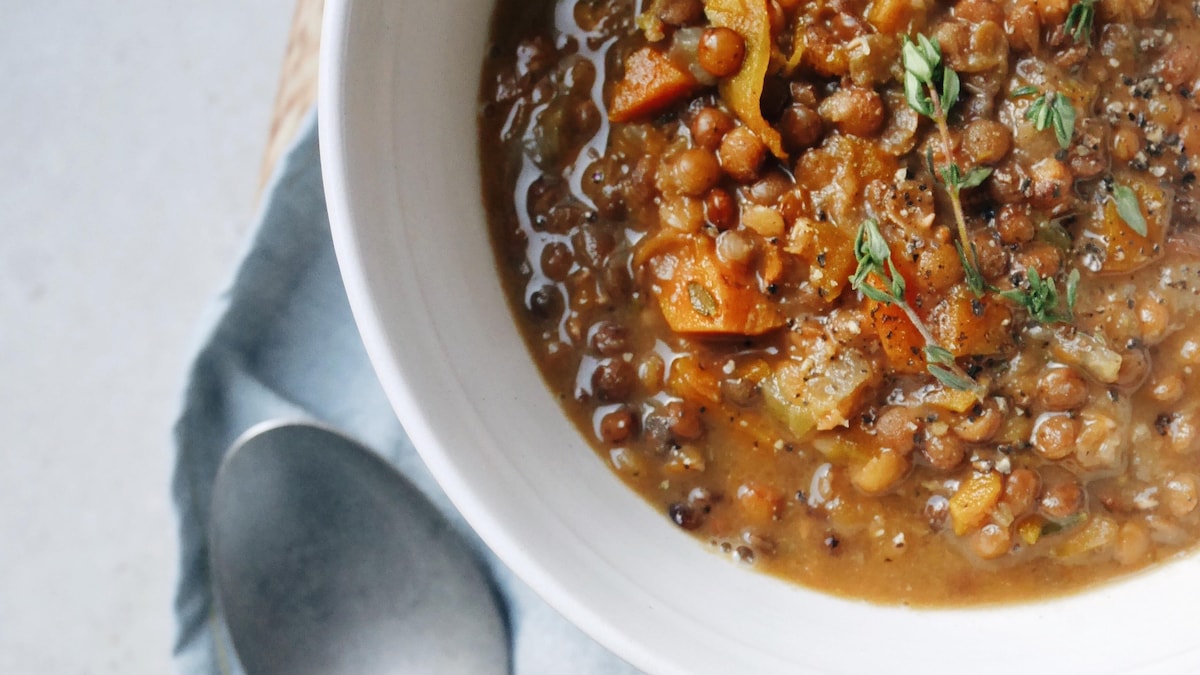
Ideal for emergency situations, survival soup combines various types of beans and rice to create a nutritious and balanced dish. This recipe is perfect for utilizing your food stores while preparing a simple yet satisfying meal.
Ingredients:
- 1 cup dry rice; the historical "8 oz" equivalent should not be used as a precise weight, as units of mass (ounces) and units of volume (cups) are not interchangeable.
- 2 oz (¼ cup) red kidney beans
- 2 oz (¼ cup) lentils
- 2 oz (¼ cup) chickpeas
- 2 oz (¼ cup) black beans
- 8 cups water
- 5 packets of beef bouillon
Instructions:
- Sort the legumes and prepare those that require soaking separately. Lentils and split peas have different cooking times than beans and chickpeas. Follow the instructions provided; for dried red kidney beans, be sure to follow the soaking and rapid-boiling precautions outlined in the "Beans and Rice" section.
- Discard the bean soaking water, use fresh, potable water, and bring to a boil before simmering. The eight cups of water specified is a starting point; adjust as needed based on absorption and evaporation—ensuring the bottom does not scorch—and keep in mind that not all legumes cook at the same rate.
- Simmer for 1 to 2 hours, until the beans are tender.
- Add the rice, lentils, split peas, and bouillon at the appropriate times based on their respective cooking durations, while keeping an eye on salt levels and the dietary needs of your household.
- Adjust seasoning if necessary and serve hot.
This soup is not only easy to prepare, but it also provides an excellent source of protein, fiber, and carbohydrates to help maintain your energy levels in challenging conditions.
Conclusion
When considering preparing survival food, here are a few important factors to keep in mind:
- Price
- Nutritional content
- Caloric content
- Shelf life, based on the specific product and the process actually used; do not assume or expect a one-year shelf life for every homemade recipe.
- Storage conditions—before and after opening or preparation: some recipes require refrigeration. Preparing appropriate portion sizes limits leftovers, though it does not eliminate the need for food safety precautions.
- Minimal cooking requirements—options that are "ready-to-eat" (just open and eat) or "heat-and-eat."
- Ingredients and flavors your family already enjoys (an emergency is not the time to experiment with new things unless absolutely necessary).
Test your recipes under normal conditions to gauge their requirements for water, energy, time, and cleanup. Keep a record of your notes and any adjustments specific to your equipment—but never alter a validated preservation process. Breads, soups, egg-based desserts, and meat mixtures have different shelf lives; there is no universal rule guaranteeing that items will last for months or years. Keep a supply of foods with well-known storage and preparation requirements on hand, so that a power outage or other disruption doesn't force you to improvise complex tasks like drying meat or elaborate cooking.
Related resources
Equipment to compare for your needs
Some links below are affiliate links: we may receive a commission at no additional cost to you. Products are examples by function, to choose according to your needs; buying the entire selection is unnecessary.